


终端大乱斗


目录
- 终端简史:从打字机到 AI 助手的奇幻之旅
- Shell 家族谱系:认识这些”壳”
- Windows 三剑客:CMD、PowerShell 与终端
- Linux/Unix 世界的贝壳们
- 新时代终端:未来已来
- 终端美化大作战
- 实用技巧速成班
1. 终端简史:从打字机到 AI 助手的奇幻之旅
史前时代:打孔卡片(1960 年代)
想象一下,你生活在 1960 年代,想要让计算机运行程序。你需要:
- 用打孔机在卡片上打洞(一个洞代表一个二进制位)
- 把一堆卡片交给计算机房的管理员
- 等待几小时甚至几天
- 如果程序有 bug?对不起,重新打卡片吧!
这就像用莫尔斯电码和计算机聊天,还是单向的那种。
古典时代:电传打字机(1970 年代)
然后,电传打字机(Teletype,简称 TTY)出现了!这是一个真实的打字机,连接到大型计算机上。你敲键盘,打字机就哒哒哒地打印出结果。
用户:ls [回车]打字机:哒哒哒哒哒(打印文件列表)file1.txtfile2.txtprogram.exe这就是为什么今天我们还在说”TTY”、“终端”这些词——它们真的曾经是物理设备!就像你现在说”拨号”、“挂电话”,但你的手机根本没有转盘和听筒。
有趣的事实:当时的终端每秒只能显示 10 个字符,所以 Unix 命令都特别短,比如 ls、cd、rm。程序员们为了少打几个字母可是拼了命的!
青铜时代:VT100 与字符界面(1980 年代)
DEC 公司推出了 VT100 终端,这是一个带屏幕的终端(不再是打字机了)。它可以显示 24 行 80 列的字符,还支持一些”高级特效”:
- 能显示粗体字!✨
- 能显示不同颜色!🌈(虽然只有 8 种)
- 光标能随意移动!🎯
- 甚至能画简单的线条和框框!📦
这在当时简直是黑科技!很多现代终端模拟器还在模拟 VT100 的行为,就像现代汽车还保留着”马力”这个单位一样。
┌─────────────────────────┐│ 欢迎来到Unix系统! ││ login: _ │└─────────────────────────┘白银时代:个人电脑革命(1990 年代)
PC 普及了!但是:
- Windows 用户:被”开始”按钮和鼠标宠坏了,几乎不知道命令行是啥
- Unix/Linux 用户:继续在黑色屏幕上敲命令,觉得自己超酷 😎
这时候出现了一个有趣的现象:
Windows用户看Linux用户:你们还在用命令行?这都什么年代了!Linux用户看Windows用户:你们不会用命令行?图形界面真慢!经典段子:
# Unix管理员的噩梦sudo rm -rf /# 一个命令删除整个系统# 相当于"请帮我把房子炸了谢谢"黄金时代:终端模拟器兴起(2000-2010 年代)
操作系统自带的终端太丑?没关系,终端模拟器来了!
- iTerm2 (Mac):苹果用户的最爱
- GNOME Terminal (Linux):简单实用
- ConEmu (Windows):Windows 用户的救星
- Terminator (Linux):能分屏,程序员狂喜
这个时期的特点:
程序员:我的终端背景是《黑客帝国》的绿色字符雨!普通人:......所以你在做什么?程序员:写Hello World钻石时代:现代终端(2020 年代)
微软突然醒悟了:“等等,我们的终端太丑了!“于是做了 Windows Terminal。
同时,一堆创业公司想:“终端能不能更智能、更好看、更好用?“于是:
- Warp:带 AI 助手的终端(2022)
- Wave:可视化和协作终端(2023)
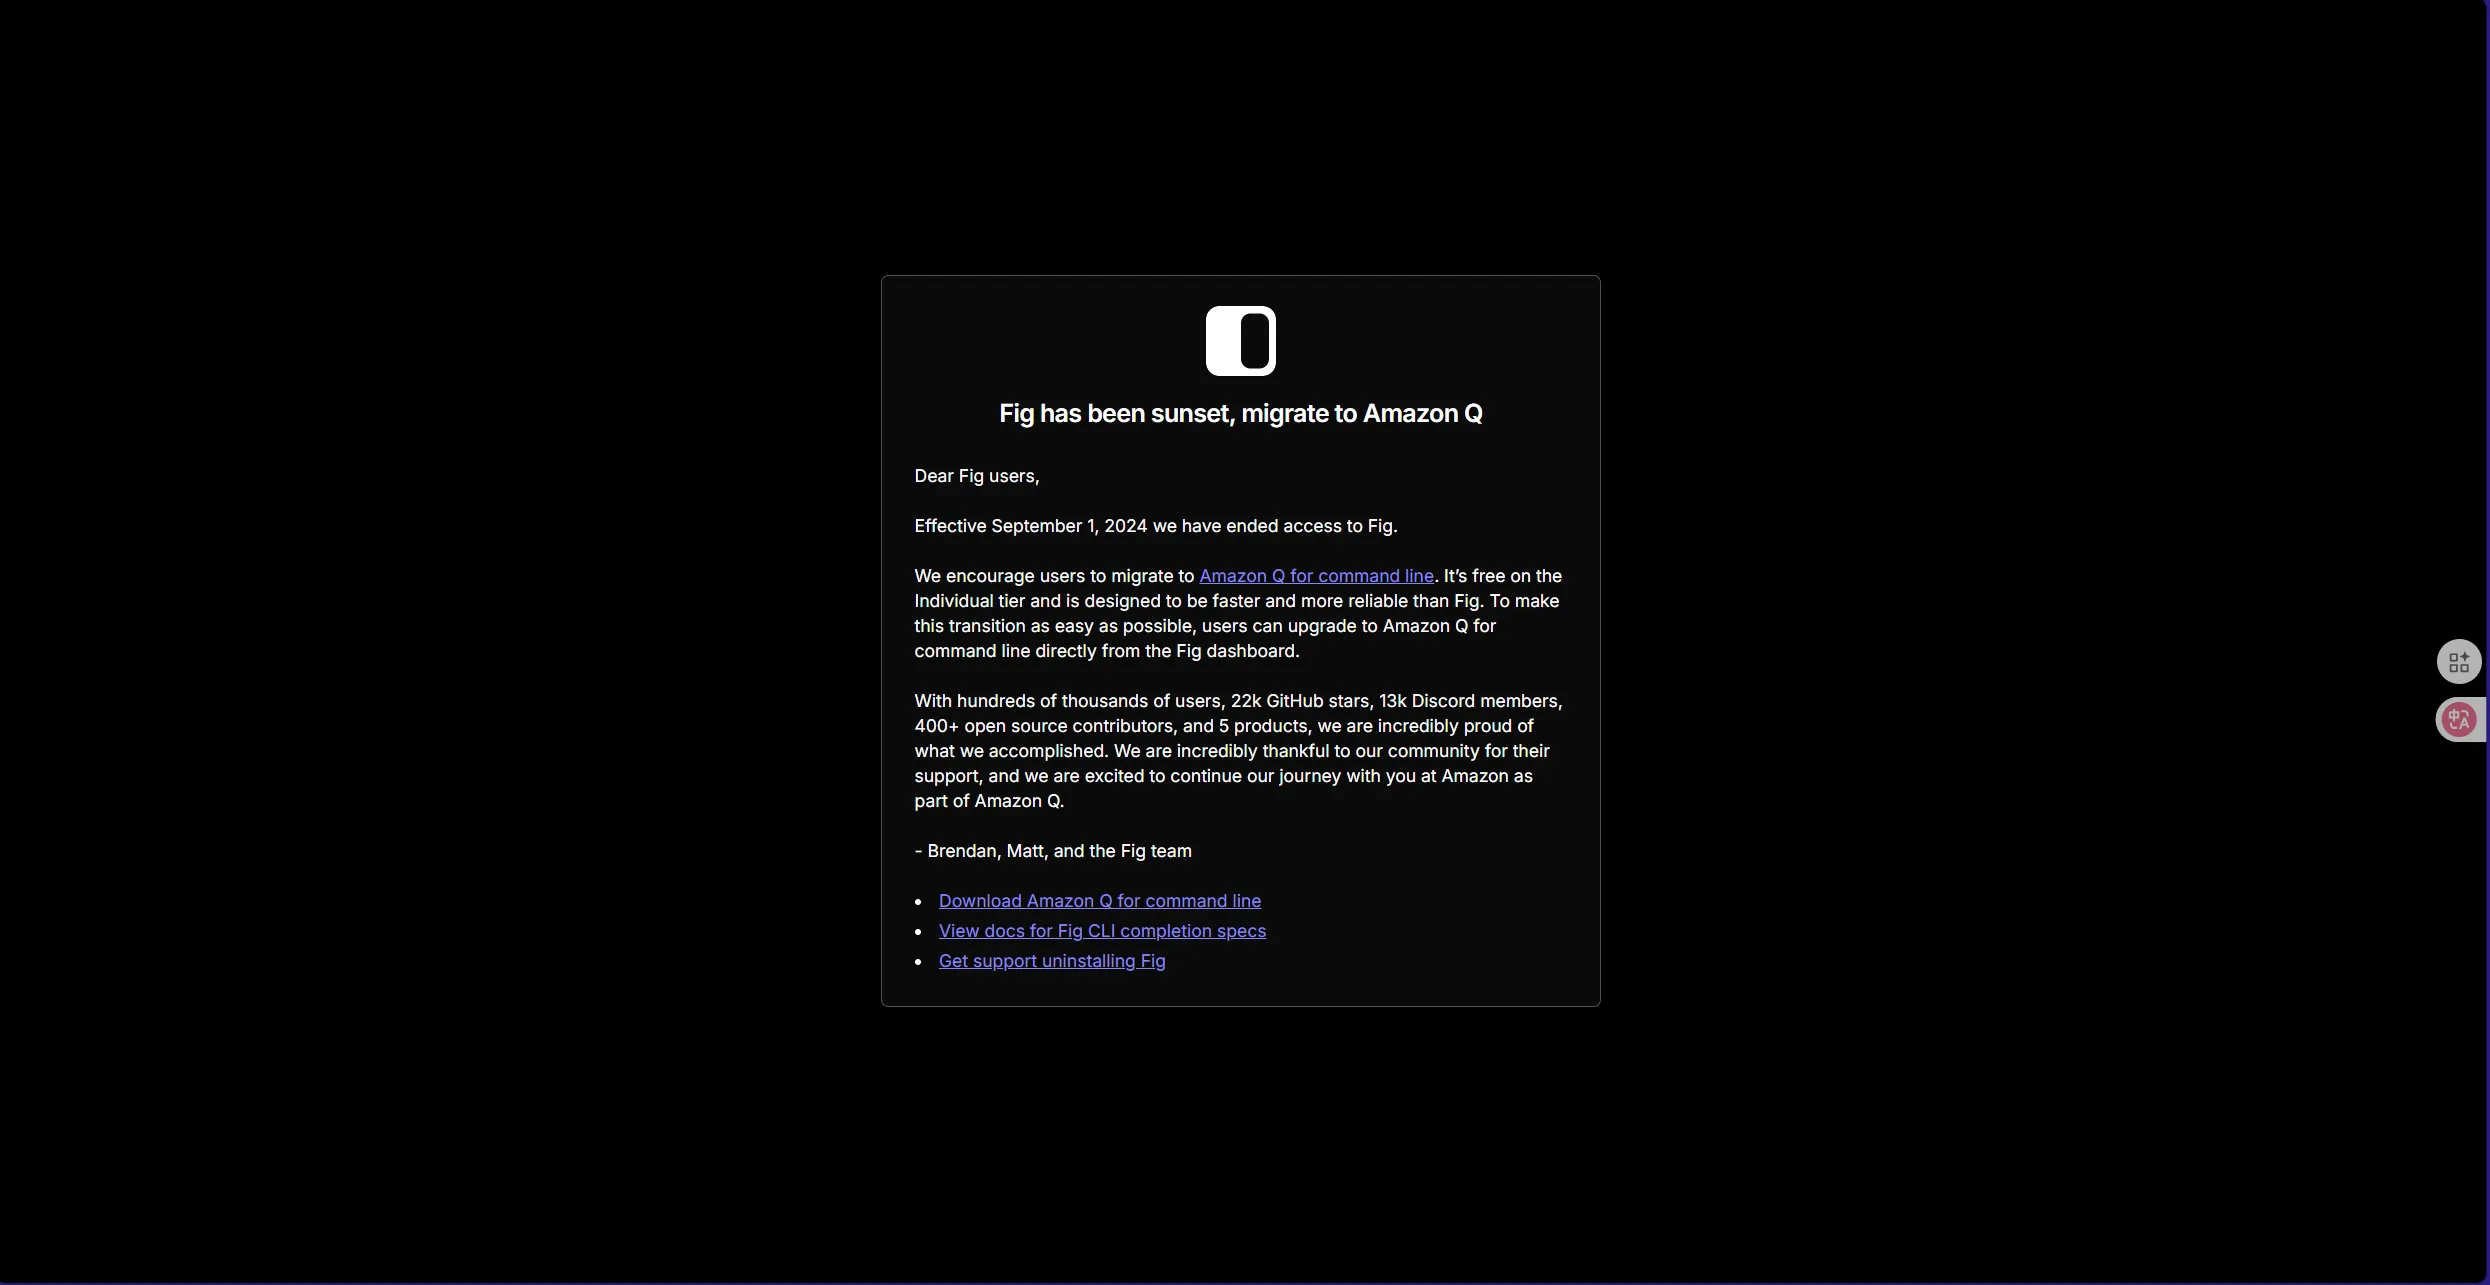
- Fig:自动补全增强(后被 AWS 收购)(似了)
- H****yper:用 JavaScript 写的终端(程序员:万物皆可 JavaScript!)
现在的终端甚至可以:
- 用 AI 帮你写命令
- 实时显示命令的解释
- 团队协作
- 显示图片和视频
- 跟你聊天(?)
未来展望:AI 原生终端
2025 年的现在,终端正在进化成这样:
你:我想找昨天修改的Python文件AI终端:找到了3个文件,最可能的是 analysis.py 要查看内容吗?你:看看前10行AI终端:[显示代码并高亮重要部分] 顺便说一句,第5行有个潜在的bug你:😱有人说未来的终端会是这样:
你:(用语音)帮我部署到生产环境终端AI:检测到你喝醉了,建议明天再部署你:我没醉!终端AI:那请在60秒内完成这个验证码你:......算了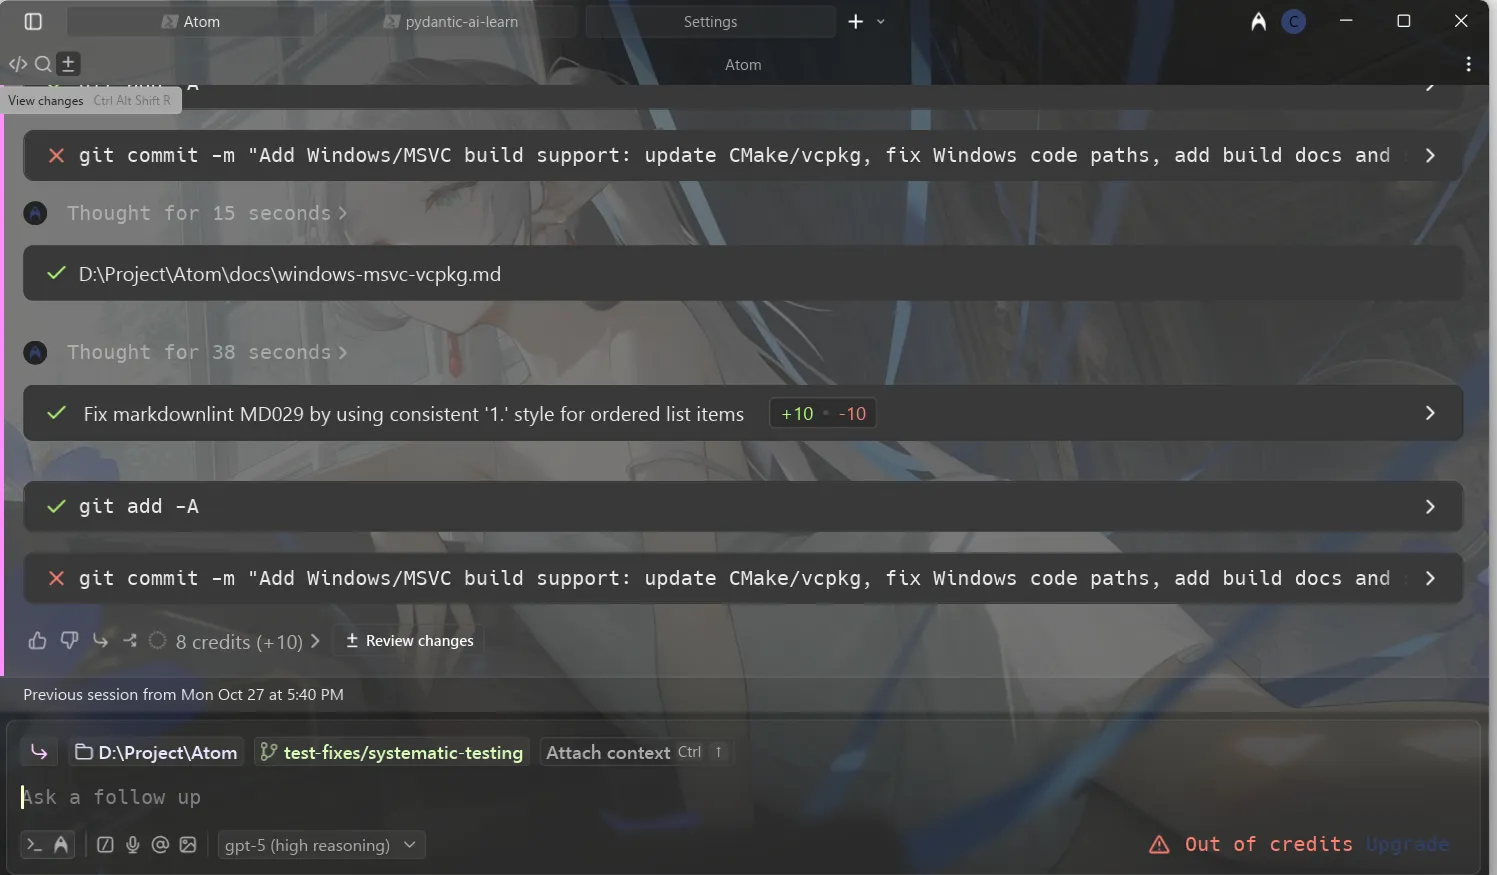
2. Shell 家族谱系:认识这些”壳”
什么是 Shell?用人话说
想象计算机是个胡桃:
- 内核(Kernel):中间的果仁,是操作系统的核心,普通人碰不得
- Shell(壳):外面的硬壳,保护内核还能让你跟内核交流
你 →→→ Shell →→→ 内核 →→→ 硬件 ⬆️ 翻译官的角色Shell 就像一个翻译官:
- 你说”人话”(命令)
- Shell 翻译成”机器话”
- 内核执行
- Shell 把结果翻译回”人话”给你
Shell 家族树
Shell家族│├─ Bourne家族(AT&T贝尔实验室血统)│ ├─ sh(祖爷爷,1977年出生)│ ├─ bash(孙子,最受欢迎)│ ├─ zsh(曾孙,年轻人的最爱)│ └─ dash(轻量级表弟)│├─ C家族(伯克利大学血统)│ ├─ csh(1978年出生,长得像C语言)│ └─ tcsh(加强版,但人气不高)│├─ 现代派│ ├─ fish(2005年,超级友好)│ ├─ nushell(2019年,结构化数据)│ ├─ xonsh(Python和Shell的混血儿)│ └─ 离经叛道的Python脚本(用Python玩命令行)│└─ Windows家族(独立发展) ├─ CMD(1987年,老古董) └─ PowerShell(2006年,扛把子)各种 Shell 的性格特点
Bash - 居家好男人
# 优点:稳定、可靠、到处都有# 缺点:有点老土# 适合:99%的场景
echo "我是默认选择,就像默认的家庭套餐"Zsh - 时尚潮人
# 优点:功能强大、可定制、插件多# 缺点:配置复杂# 适合:追求效率的程序员
echo "我是macOS的默认Shell,我骄傲!"Fish - 贴心小棉袄
# 优点:自动补全超强、语法高亮、对新手友好# 缺点:语法与bash不兼容# 适合:想要开箱即用的人
echo "我的自动补全会读心术!"PowerShell - 全能战士
# 优点:面向对象、功能强大、跨平台# 缺点:语法冗长# 适合:Windows系统管理
Write-Host "我可以管理整个Windows帝国!"CMD - 古董收藏
REM 优点:简单、所有Windows都有REM 缺点:功能弱、老旧REM 适合:运行老脚本
echo 我还活着只是因为向后兼容3. Windows 三剑客:CMD、PowerShell 与终端
CMD - 远古遗物但不能少
诞生故事:1987 年,Windows 说:“我们也要有命令行!“于是抄了 DOS 的作业,做出了 CMD。
C:\> dir看,这就是我全部的魅力了什么时候用 CMD?
- 运行超级老的批处理脚本
- 快速查个 IP 地址(
ipconfig) - 清理 DNS 缓存(
ipconfig /flushdns) - 假装自己是黑客(开玩笑的)
CMD 的经典用法:
REM 彩蛋:修改命令提示符prompt 🚀 $P$GREM 现在你的提示符变成了:🚀 C:\>
REM 最简单的批处理脚本@echo offecho 你好,萌新!echo 按任意键退出...pause > nul
REM 循环打印(小心无限循环!):loopecho 我是一个循环~timeout /t 1 > nulgoto loopPowerShell - 微软的野心之作
诞生故事:2006 年,微软请来大神 Jeffrey Snover,说:“我们要做一个超越所有 Shell 的 Shell!”
PowerShell 的野心:
- 不只是 Shell,还是编程语言
- 不只管文件,还能管注册表、服务、网络…
- 不只在 Windows,还能跨平台
PowerShell 的哲学:一切皆对象
# 传统Shell的方式(文本处理)Get-Process | Select-String "chrome"
# PowerShell的方式(对象处理)Get-Process | Where-Object {$_.Name -like "*chrome*"} | Select-Object Name, CPU, Memory
# 看,我们在处理对象,不是文本!PowerShell 快速入门:
# 📁 文件操作(跟Linux很像)ls # 列出文件(其实是Get-ChildItem的别名)cd Desktop # 切换目录mkdir 新文件夹 # 创建目录rm 文件.txt # 删除文件
# 🔍 查找东西Get-ChildItem -Recurse -Filter "*.txt" # 找所有txt文件Get-Process | Where Name -like "*chrome*" # 找Chrome进程
# 💾 数据处理Get-Process | Export-Csv processes.csv # 导出到CSVImport-Csv data.csv | Where Age -gt 18 # 从CSV筛选数据
# 🎨 好玩的命令Write-Host "彩虹文字" -ForegroundColor CyanGet-Random -Minimum 1 -Maximum 100 # 随机数Get-Date # 当前时间(Get-Date).AddDays(100) # 100天后是几号?PowerShell 趣味小技巧:
# 🎭 自定义提示符function prompt { $time = Get-Date -Format "HH:mm:ss" "[$time] PS> "}
# 🎲 做个决定帮手function Should-I { $answer = Get-Random -InputObject @("做!", "不做!", "再想想", "明天再说") Write-Host $answer -ForegroundColor Yellow}# 使用:Should-I
# 🔊 让电脑说话(Windows)Add-Type -AssemblyName System.Speech$speak = New-Object System.Speech.Synthesis.SpeechSynthesizer$speak.Speak("你好,我是你的电脑")
# 📊 快速统计文件Get-ChildItem -Recurse | Group-Object Extension | Sort-Object Count -Descending | Select-Object Name, Count
# 🌡️ 系统温度检测(需要管理员权限)Get-WmiObject MSAcpi_ThermalZoneTemperature -Namespace root/wmi | Select-Object -Property CurrentTemperature甚至还可以写界面:
_# 加载必要的程序集_Add-Type -AssemblyName System.Windows.FormsAdd-Type -AssemblyName System.Drawing
_# 创建主窗体_$form = New-Object System.Windows.Forms.Form$form.Text = "PowerShell 现代化界面"$form.Size = New-Object System.Drawing.Size(500, 400)$form.StartPosition = "CenterScreen"$form.BackColor = [System.Drawing.Color]::FromArgb(240, 240, 245)$form.FormBorderStyle = 'FixedDialog'$form.MaximizeBox = $false
_# 创建标题面板_$titlePanel = New-Object System.Windows.Forms.Panel$titlePanel.Location = New-Object System.Drawing.Point(0, 0)$titlePanel.Size = New-Object System.Drawing.Size(500, 80)$titlePanel.BackColor = [System.Drawing.Color]::FromArgb(70, 130, 180)$form.Controls.Add($titlePanel)
_# 创建标题标签_$titleLabel = New-Object System.Windows.Forms.Label$titleLabel.Location = New-Object System.Drawing.Point(20, 15)$titleLabel.Size = New-Object System.Drawing.Size(450, 30)$titleLabel.Text = "欢迎使用 PowerShell GUI"$titleLabel.Font = New-Object System.Drawing.Font("微软雅黑", 18, [System.Drawing.FontStyle]::Bold)$titleLabel.ForeColor = [System.Drawing.Color]::White$titlePanel.Controls.Add($titleLabel)
_# 创建副标题_$subtitleLabel = New-Object System.Windows.Forms.Label$subtitleLabel.Location = New-Object System.Drawing.Point(20, 50)$subtitleLabel.Size = New-Object System.Drawing.Size(450, 20)$subtitleLabel.Text = "一个简单而优雅的图形界面示例"$subtitleLabel.Font = New-Object System.Drawing.Font("微软雅黑", 10)$subtitleLabel.ForeColor = [System.Drawing.Color]::FromArgb(230, 230, 230)$titlePanel.Controls.Add($subtitleLabel)
_# 创建内容面板_$contentPanel = New-Object System.Windows.Forms.Panel$contentPanel.Location = New-Object System.Drawing.Point(30, 100)$contentPanel.Size = New-Object System.Drawing.Size(440, 240)$contentPanel.BackColor = [System.Drawing.Color]::White$contentPanel.BorderStyle = 'None'$form.Controls.Add($contentPanel)
_# 添加阴影效果(通过边框模拟)_$shadowPanel = New-Object System.Windows.Forms.Panel$shadowPanel.Location = New-Object System.Drawing.Point(33, 103)$shadowPanel.Size = New-Object System.Drawing.Size(440, 240)$shadowPanel.BackColor = [System.Drawing.Color]::FromArgb(200, 200, 200)$form.Controls.Add($shadowPanel)$contentPanel.BringToFront()
_# 输入提示标签_$label = New-Object System.Windows.Forms.Label$label.Location = New-Object System.Drawing.Point(30, 30)$label.Size = New-Object System.Drawing.Size(380, 25)$label.Text = "请输入您的姓名"$label.Font = New-Object System.Drawing.Font("微软雅黑", 11, [System.Drawing.FontStyle]::Bold)$label.ForeColor = [System.Drawing.Color]::FromArgb(60, 60, 60)$contentPanel.Controls.Add($label)
_# 美化文本框_$textBox = New-Object System.Windows.Forms.TextBox$textBox.Location = New-Object System.Drawing.Point(30, 60)$textBox.Size = New-Object System.Drawing.Size(380, 30)$textBox.Font = New-Object System.Drawing.Font("微软雅黑", 11)$textBox.BorderStyle = 'FixedSingle'$textBox.BackColor = [System.Drawing.Color]::FromArgb(250, 250, 250)$contentPanel.Controls.Add($textBox)
_# 创建按钮容器_$buttonPanel = New-Object System.Windows.Forms.Panel$buttonPanel.Location = New-Object System.Drawing.Point(30, 110)$buttonPanel.Size = New-Object System.Drawing.Size(380, 50)$buttonPanel.BackColor = [System.Drawing.Color]::Transparent$contentPanel.Controls.Add($buttonPanel)
_# 美化问候按钮_$button = New-Object System.Windows.Forms.Button$button.Location = New-Object System.Drawing.Point(0, 0)$button.Size = New-Object System.Drawing.Size(120, 40)$button.Text = "问候"$button.Font = New-Object System.Drawing.Font("微软雅黑", 10, [System.Drawing.FontStyle]::Bold)$button.FlatStyle = 'Flat'$button.FlatAppearance.BorderSize = 0$button.BackColor = [System.Drawing.Color]::FromArgb(70, 130, 180)$button.ForeColor = [System.Drawing.Color]::White$button.Cursor = [System.Windows.Forms.Cursors]::Hand$button.Add_MouseEnter({ $button.BackColor = [System.Drawing.Color]::FromArgb(90, 150, 200) })$button.Add_MouseLeave({ $button.BackColor = [System.Drawing.Color]::FromArgb(70, 130, 180) })$button.Add_Click({ _if_ ($textBox.Text -ne "") { $resultLabel.Text = "你好,$($textBox.Text)!" $resultLabel.Text += "`n欢迎使用 PowerShell 现代化界面 ✨" $resultLabel.ForeColor = [System.Drawing.Color]::FromArgb(70, 130, 180) } _else_ { $resultLabel.Text = "⚠ 请先输入姓名" $resultLabel.ForeColor = [System.Drawing.Color]::FromArgb(220, 90, 90) } })$buttonPanel.Controls.Add($button)
_# 美化清除按钮_$clearButton = New-Object System.Windows.Forms.Button$clearButton.Location = New-Object System.Drawing.Point(130, 0)$clearButton.Size = New-Object System.Drawing.Size(120, 40)$clearButton.Text = "清除"$clearButton.Font = New-Object System.Drawing.Font("微软雅黑", 10, [System.Drawing.FontStyle]::Bold)$clearButton.FlatStyle = 'Flat'$clearButton.FlatAppearance.BorderSize = 0$clearButton.BackColor = [System.Drawing.Color]::FromArgb(150, 150, 150)$clearButton.ForeColor = [System.Drawing.Color]::White$clearButton.Cursor = [System.Windows.Forms.Cursors]::Hand$clearButton.Add_MouseEnter({ $clearButton.BackColor = [System.Drawing.Color]::FromArgb(170, 170, 170) })$clearButton.Add_MouseLeave({ $clearButton.BackColor = [System.Drawing.Color]::FromArgb(150, 150, 150) })$clearButton.Add_Click({ $textBox.Text = "" $resultLabel.Text = "" })$buttonPanel.Controls.Add($clearButton)
_# 美化退出按钮_$exitButton = New-Object System.Windows.Forms.Button$exitButton.Location = New-Object System.Drawing.Point(260, 0)$exitButton.Size = New-Object System.Drawing.Size(120, 40)$exitButton.Text = "退出"$exitButton.Font = New-Object System.Drawing.Font("微软雅黑", 10, [System.Drawing.FontStyle]::Bold)$exitButton.FlatStyle = 'Flat'$exitButton.FlatAppearance.BorderSize = 0$exitButton.BackColor = [System.Drawing.Color]::FromArgb(220, 90, 90)$exitButton.ForeColor = [System.Drawing.Color]::White$exitButton.Cursor = [System.Windows.Forms.Cursors]::Hand$exitButton.Add_MouseEnter({ $exitButton.BackColor = [System.Drawing.Color]::FromArgb(240, 110, 110) })$exitButton.Add_MouseLeave({ $exitButton.BackColor = [System.Drawing.Color]::FromArgb(220, 90, 90) })$exitButton.Add_Click({ $form.Close() })$buttonPanel.Controls.Add($exitButton)
_# 美化结果显示区域_$resultLabel = New-Object System.Windows.Forms.Label$resultLabel.Location = New-Object System.Drawing.Point(30, 170)$resultLabel.Size = New-Object System.Drawing.Size(380, 60)$resultLabel.Font = New-Object System.Drawing.Font("微软雅黑", 12, [System.Drawing.FontStyle]::Bold)$resultLabel.TextAlign = 'MiddleCenter'$resultLabel.BackColor = [System.Drawing.Color]::FromArgb(245, 245, 250)$contentPanel.Controls.Add($resultLabel)
_# 显示窗体_$form.Add_Shown({ $form.Activate() })[void]$form.ShowDialog()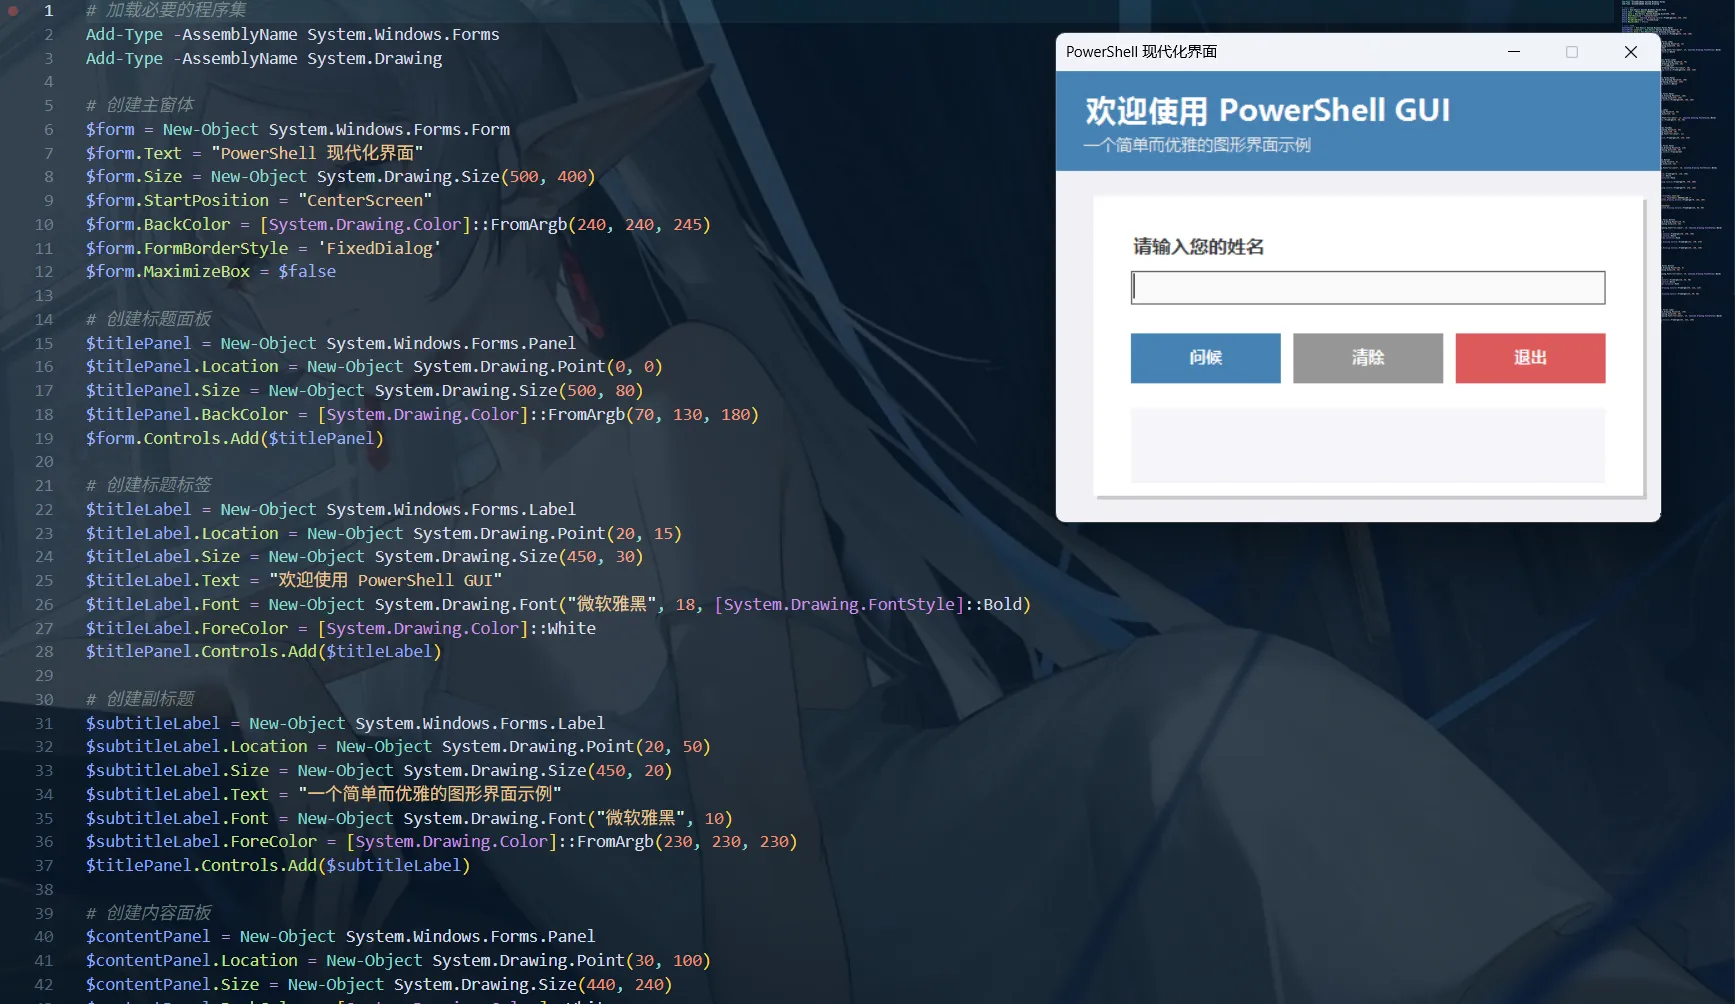
Windows Terminal - 颜值即正义
诞生故事:2019 年,微软新 CEO 上任后说:“我们的终端太丑了,重做!“于是有了 Windows Terminal。
为什么要用 Windows Terminal?
对比一下:
老CMD:- 黑色背景,白色文字- 不能分屏- 不能多标签- 不支持Unicode(中文经常乱码)- 像素风格(不是褒义)
Windows Terminal:- 透明背景、亚克力效果 ✨- 支持分屏- 多标签(像浏览器一样)- 完美支持中文、emoji 😄- GPU加速,丝般顺滑- 可以自定义一切!
Windows Terminal 快速上手:
安装:Microsoft Store 搜索”Windows Terminal” (Win11 内置)
基础快捷键:
Ctrl + Shift + T 新标签页Ctrl + Shift + W 关闭标签页Ctrl + Tab 切换标签页Alt + Shift + + 垂直分屏Alt + Shift + - 水平分屏Alt + 方向键 在分屏间切换Ctrl + Shift + F 搜索配置文件位置:
按 Ctrl + , 打开设置或者直接编辑JSON配置文件美化配置示例:
{ "profiles": { "defaults": { "font": { "face": "Cascadia Code", "size": 12 }, "opacity": 85, "useAcrylic": true, "backgroundImage": "C:/Images/background.jpg", "backgroundImageOpacity": 0.3, "colorScheme": "One Half Dark" } }, "schemes": [ { "name": "One Half Dark", "background": "#282C34", "foreground": "#DCDFE4" } ]}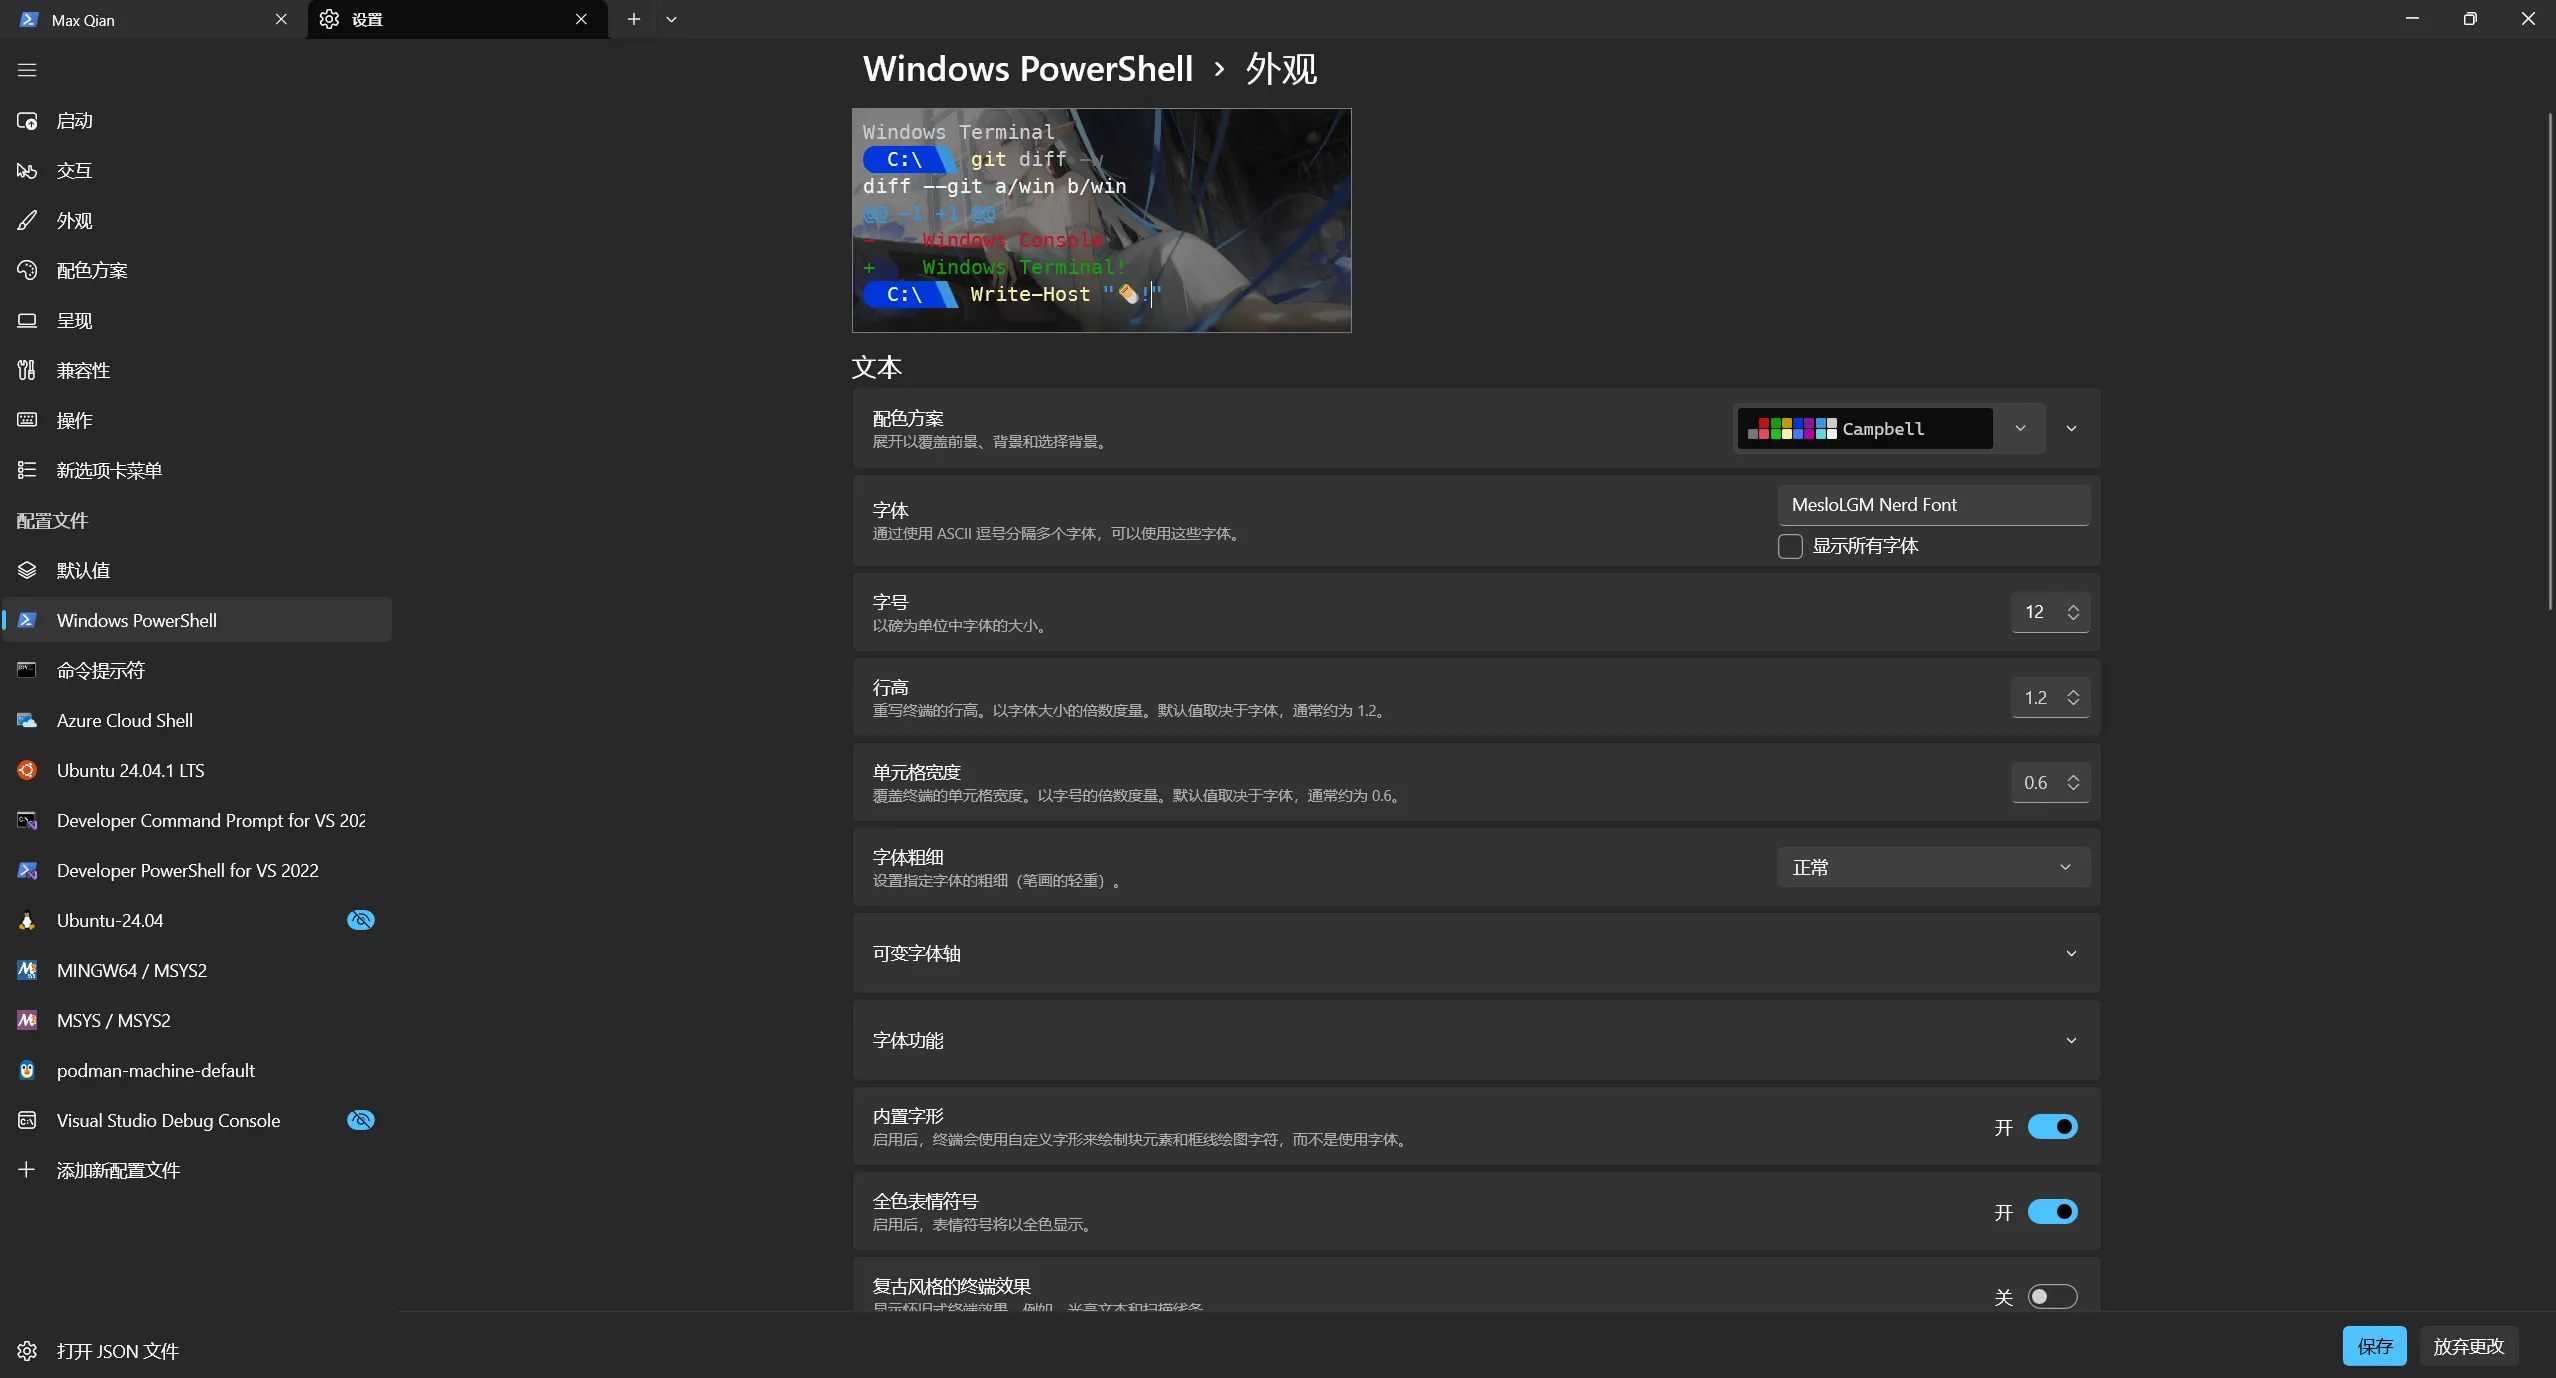
Windows Terminal 趣味玩法:
// 1. 设置动态背景(每次打开不同)"backgroundImage": "desktopWallpaper",
// 2. 复古CRT效果"experimental.retroTerminalEffect": true,
// 3. 自定义标签图标"icon": "C:/Icons/powershell.png",
// 4. 启动时运行特定命令"commandline": "powershell.exe -NoExit -Command \"Write-Host '欢迎回来!' -ForegroundColor Cyan\"",
// 5. 不同配置切换{ "name": "开发环境", "commandline": "wsl ~", "startingDirectory": "//wsl$/Ubuntu/home/user/projects"}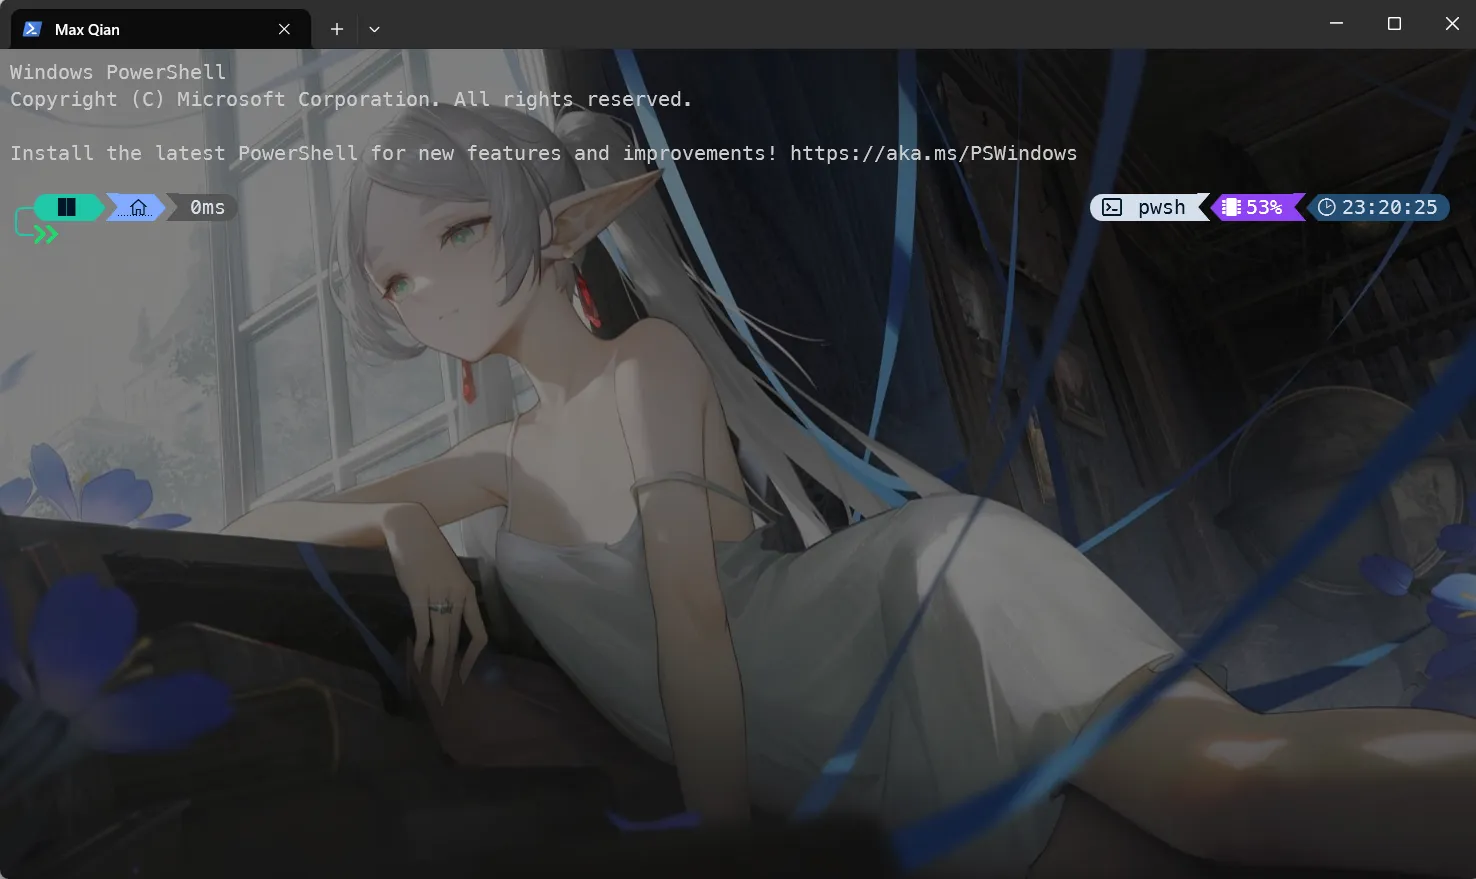
4. Linux/Unix 世界的贝壳们
Bash - 开源世界的通用语言
为什么叫 Bash?
- Bourne Again Shell(又是 Bourne Shell)
- 这是个双关语:Born Again(重生)
# Bash的禅宗echo "简单的才是最好的"Bash 生存技能包:
# 导航忍术cd ~ # 回家cd - # 回到上一个目录(时光倒流!)pushd /tmp # 去/tmp但记住现在的位置popd # 回到之前记住的位置
# 历史命令魔法!! # 重复上一条命令!$ # 上一条命令的最后一个参数!^ # 上一条命令的第一个参数!* # 上一条命令的所有参数Ctrl+R # 搜索历史命令(超级有用!)
# 通配符魔术ls *.txt # 所有txt文件ls file?.txt # file1.txt, file2.txt等ls file[0-9].txt # file0.txt到file9.txtls {file1,file2}.txt # file1.txt和file2.txt
# 快捷键闪电侠Ctrl+A # 跳到行首Ctrl+E # 跳到行尾Ctrl+U # 删除光标前所有内容Ctrl+K # 删除光标后所有内容Ctrl+W # 删除前一个单词Ctrl+L # 清屏(等于clear命令)Ctrl+C # 终止当前命令Ctrl+Z # 暂停当前命令(bg恢复后台运行)Bash 脚本入门:
#!/bin/bash# 我的第一个Bash脚本
# 打印彩色文字echo -e "\033[1;32m绿色文字\033[0m"echo -e "\033[1;31m红色警告!\033[0m"echo -e "\033[1;34m蓝色信息\033[0m"
# 获取用户输入read -p "你叫什么名字? " nameecho "你好,$name!"
# 条件判断if [ -f "文件.txt" ]; then echo "文件存在"else echo "文件不存在,创建一个" touch 文件.txtfi
# 循环for i in {1..5}; do echo "第 $i 次循环" sleep 1done
# 函数greet() { local name=$1 echo "Hello, $name!"}
greet "世界"Bash 实用脚本例子:
# 🎬 批量重命名for file in *.jpg; do mv "$file" "${file%.jpg}_backup.jpg"done
# 📊 统计代码行数find . -name "*.py" | xargs wc -l | sort -n
# 🔍 查找大文件find / -type f -size +100M 2>/dev/null
# 🧹 清理日志find /var/log -name "*.log" -mtime +30 -delete
# 📦 备份脚本backup_dir="/backup/$(date +%Y%m%d)"mkdir -p "$backup_dir"tar -czf "$backup_dir/data.tar.gz" /important/data
# 🌐 批量pingfor ip in 192.168.1.{1..254}; do ping -c 1 -W 1 $ip >/dev/null && echo "$ip is up"done &Zsh - Bash 的酷炫表弟
为什么用 Zsh?
- 更强大的自动补全
- 更好的配置系统
- 更多的插件
- macOS 的默认 Shell
# Zsh的超能力
# 🎯 智能补全cd /u/l/b<TAB># 自动补全成:cd /usr/local/bin
# 📁 目录导航.. ../../etc# 等于:cd ../../etc
# 🔄 全局别名alias -g G='| grep'ps aux G python# 等于:ps aux | grep python
# 🎨 主题系统(用Oh My Zsh后)ZSH_THEME="agnoster"Oh My Zsh - Zsh 的化妆品店:
# 安装Oh My Zshsh -c "$(curl -fsSL https://raw.githubusercontent.com/ohmyzsh/ohmyzsh/master/tools/install.sh)"
# ~/.zshrc配置文件ZSH_THEME="robbyrussell" # 主题
# 推荐插件plugins=( git # Git别名和补全 docker # Docker补全 kubectl # Kubernetes补全 autojump # 智能跳转 zsh-autosuggestions # 命令建议 zsh-syntax-highlighting # 语法高亮)
# 自定义别名alias ll='ls -lah'alias gs='git status'alias gp='git push'alias cls='clear'alias update='sudo apt update && sudo apt upgrade'Zsh 趣味插件:
# 🐱 thefuck - 自动纠正命令sudo apt install thefuck
# 配置:eval $(thefuck --alias)# 用法:$ git push# fatal: The current branch has no upstream branch.$ fuck# git push --set-upstream origin master [enter/↑/↓/ctrl+c]
# 🦘 autojump - 智能目录跳转sudo apt install autojump# 用法:j project # 跳转到任何包含"project"的目录
# 🎨 powerlevel10k - 超级主题git clone --depth=1 https://github.com/romkatv/powerlevel10k.git ${ZSH_CUSTOM:-$HOME/.oh-my-zsh/custom}/themes/powerlevel10k# 运行配置向导p10k configureFish - 对新手最友好的 Shell
Fish 的哲学:开箱即用,不需要配置就很好用
# Fish的特色
# 🔮 自动建议(根据历史)$ git com# 自动显示:git commit(灰色)# 按→接受建议
# 🎨 语法高亮(实时)$ ls /uss/bin# "uss"显示红色(因为不存在)$ ls /usr/bin# 变成绿色(存在)
# 📊 人性化语法if test -f file.txt echo "文件存在"end
# 列表set fruits apple banana orangefor fruit in $fruits echo $fruitendFish 快速配置:
# 安装Fishsudo apt install fish
# 设为默认Shellchsh -s $(which fish)
# 配置文件位置:~/.config/fish/config.fish
# 设置别名alias ll='ls -lah'alias g='git'
# 自定义函数function mkcd mkdir -p $argv cd $argvend
# 主题安装(Oh My Fish)(但是这个项目有点似了)curl https://raw.githubusercontent.com/oh-my-fish/oh-my-fish/master/bin/install | fishomf install bobthefish # 流行主题5. 新时代终端:未来已来
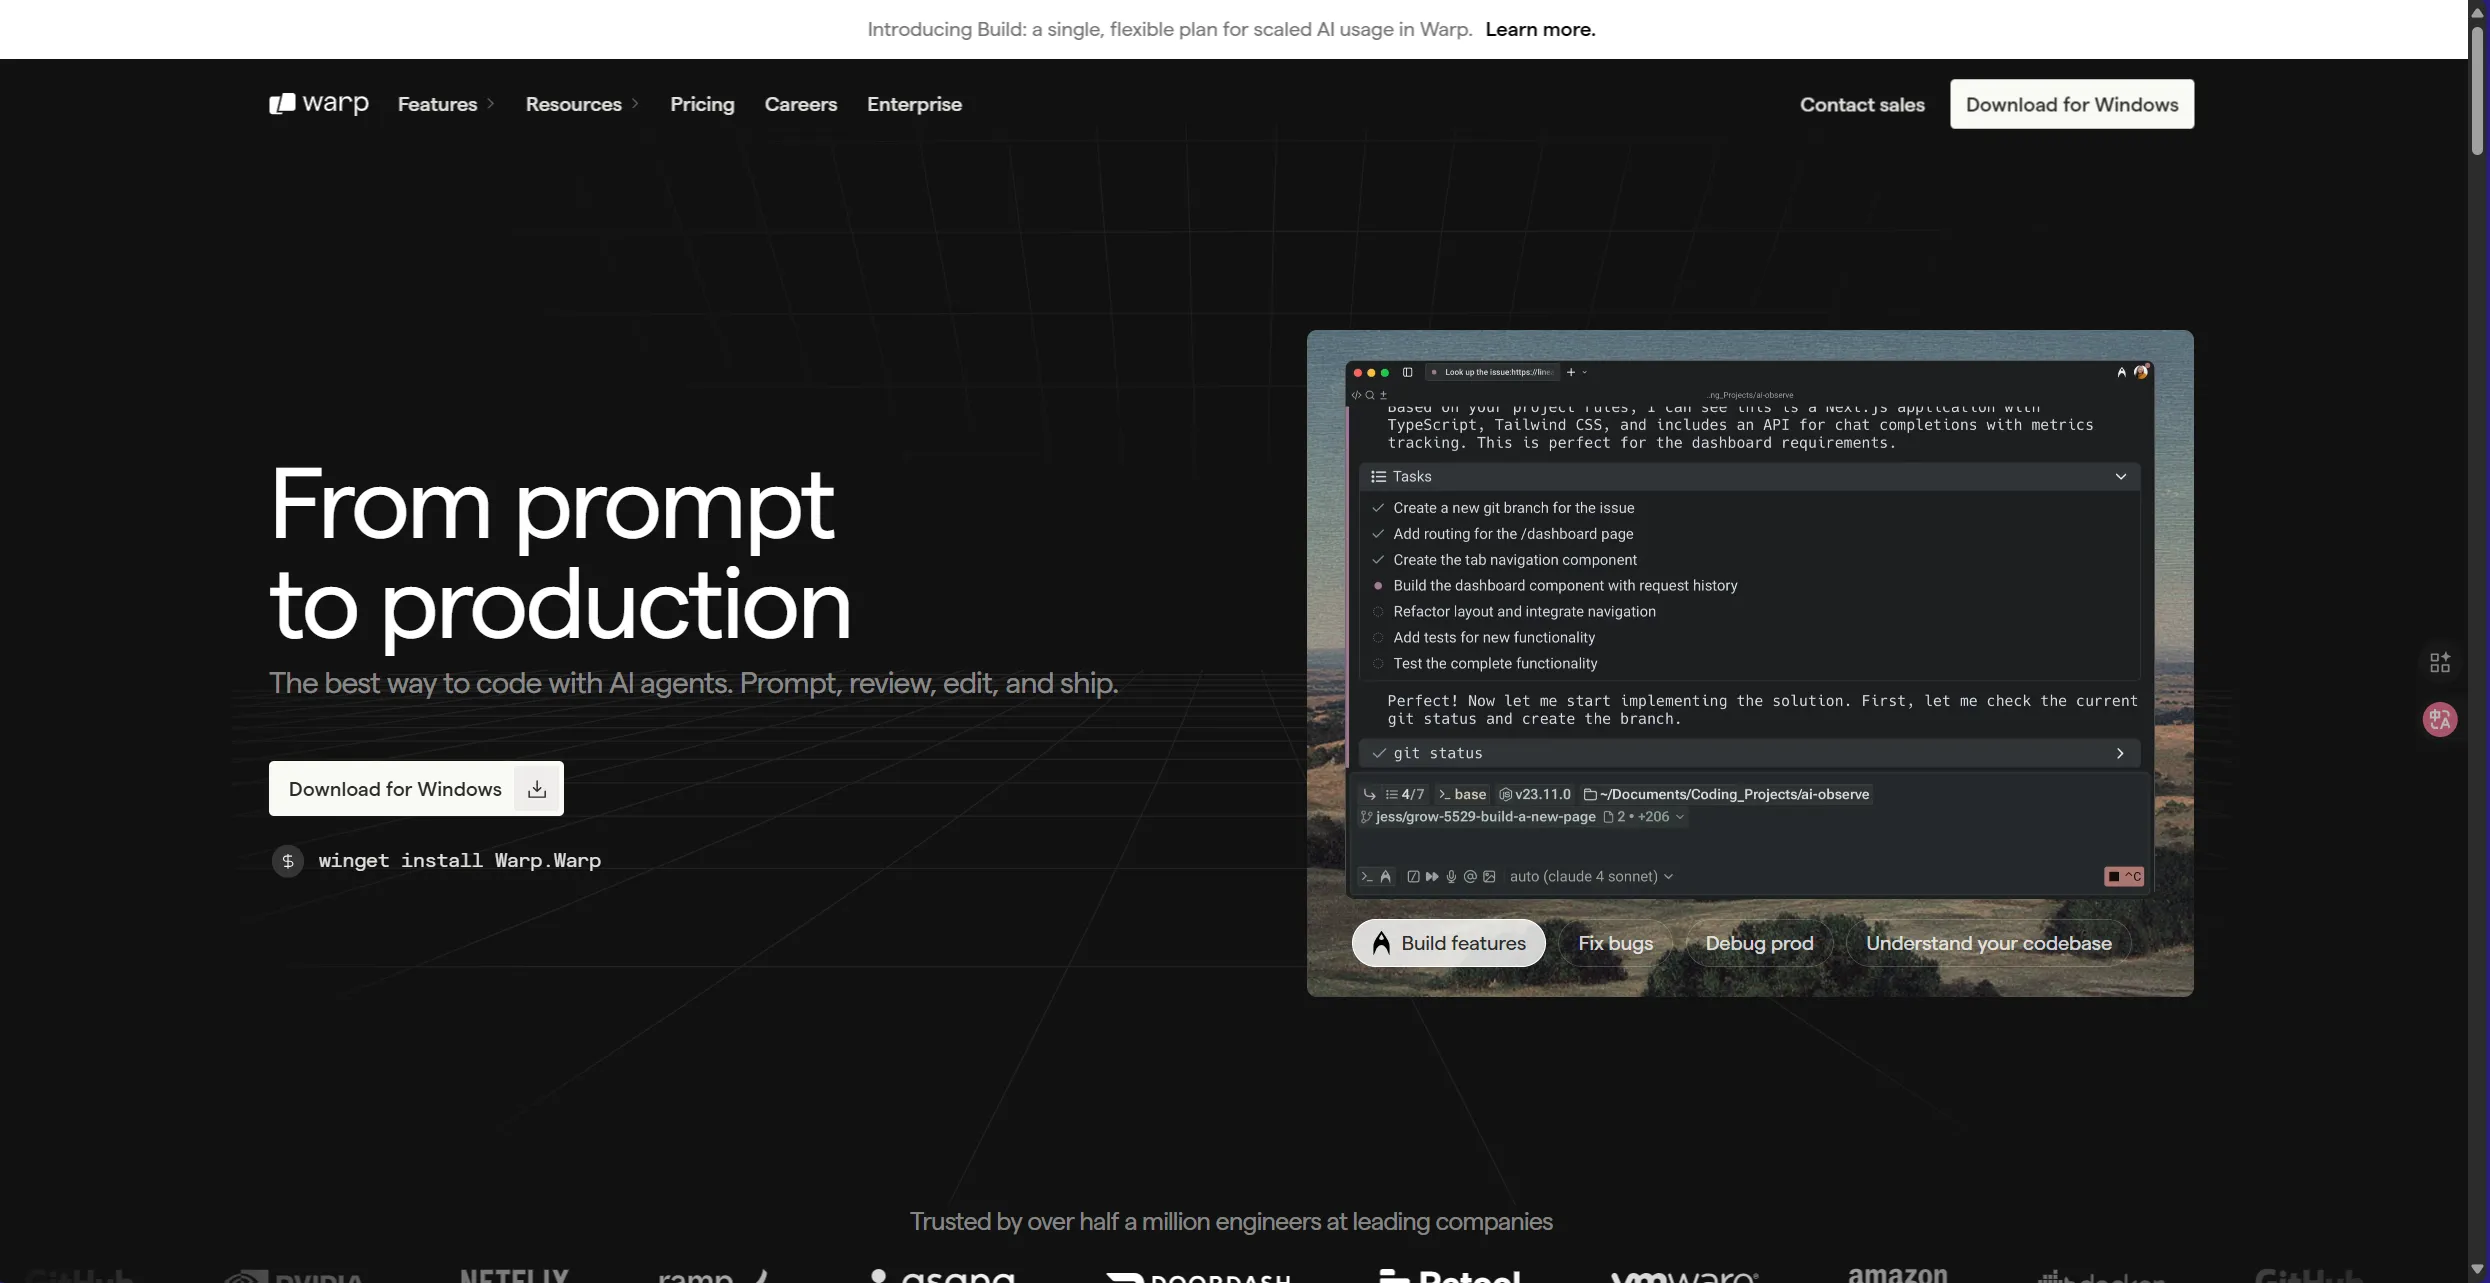
Warp - AI 驱动的终端
官网:warp.dev
Warp 是什么?
想象一下:
- 终端 + IDE 的舒适度
- 终端 + AI 助手
- 终端 + 团队协作工具
传统终端:你敲命令,它执行Warp:你说想法,AI帮你写命令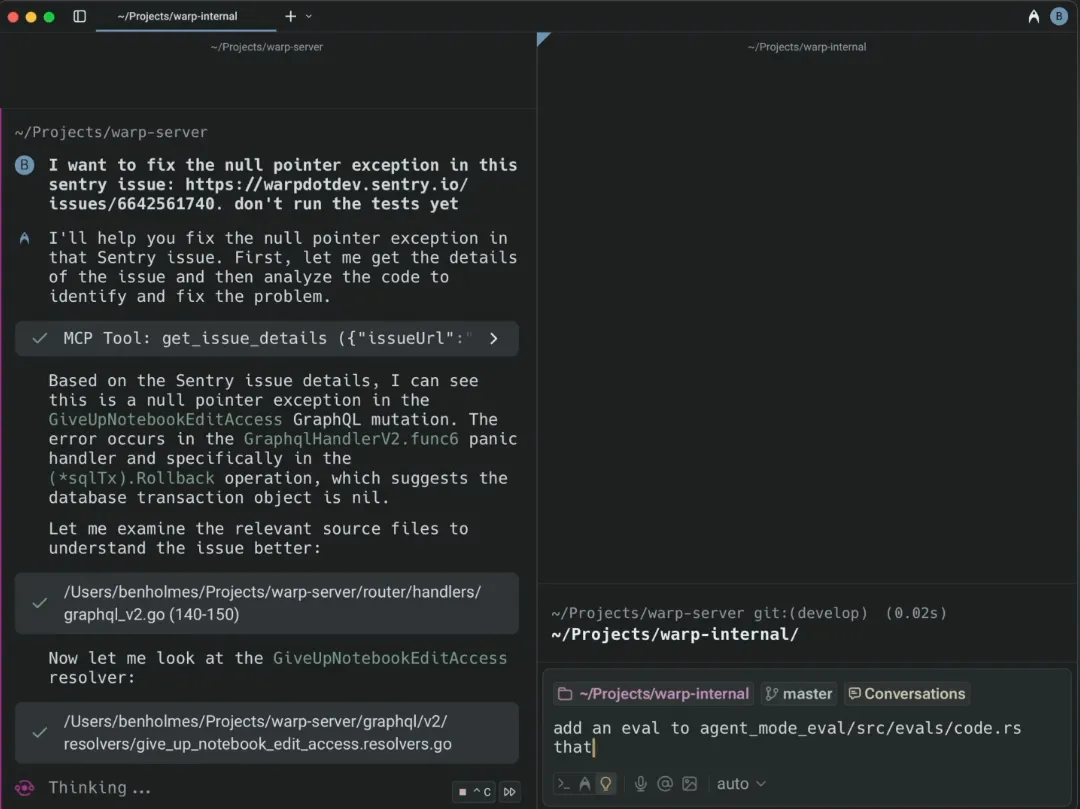
Warp 的黑科技:
块编辑模式
不再是一行一行的命令而是一个个"块"(Block)
[Block 1]输入:find . -name "*.log"输出:./app.log ./error.log
[Block 2]输入:cat error.log输出:[错误内容]
每个块可以:- 独立编辑- 分享给队友- 添加注释- 保存为workflowAI 命令生成
你:Ctrl+` (打开AI面板)输入:find all Python files modified in last 7 days
Warp AI:find . -name "*.py" -mtime -7
要执行这个命令吗?[Enter]需要解释吗?需要修改吗?智能补全
$ git[Warp自动显示] commit - 提交更改 push - 推送到远程 pull - 拉取更新 status - 查看状态
还会显示你最常用的命令!Workflows(工作流)
保存常用命令序列:
Workflow: "部署到生产环境"1. git pull2. npm run build3. docker build -t app .4. kubectl apply -f deployment.yaml
一键执行!团队协作
分享你的终端块:[分享按钮] → 生成链接
队友打开链接后:- 看到你执行的命令- 看到输出- 可以直接在他们的终端运行Warp 使用体验:
# 普通场景你在Warp输入:git stWarp:检测到可能是 git status,自动补全
# AI助手场景你:怎么找出最大的10个文件?Warp AI:du -ah . | sort -rh | head -10解释:- du -ah:显示所有文件大小- sort -rh:按人类可读格式逆序排序- head -10:取前10个
# 错误修复$ gti statusWarp:检测到拼写错误,要执行 git status 吗?
# Notebook模式像Jupyter Notebook一样使用终端:- Markdown说明- 代码块- 输出结果都整整齐齐排列Warp 的限制:
- 需要注册账号(免费)
- 某些功能需要联网
- AI 功能需要收费
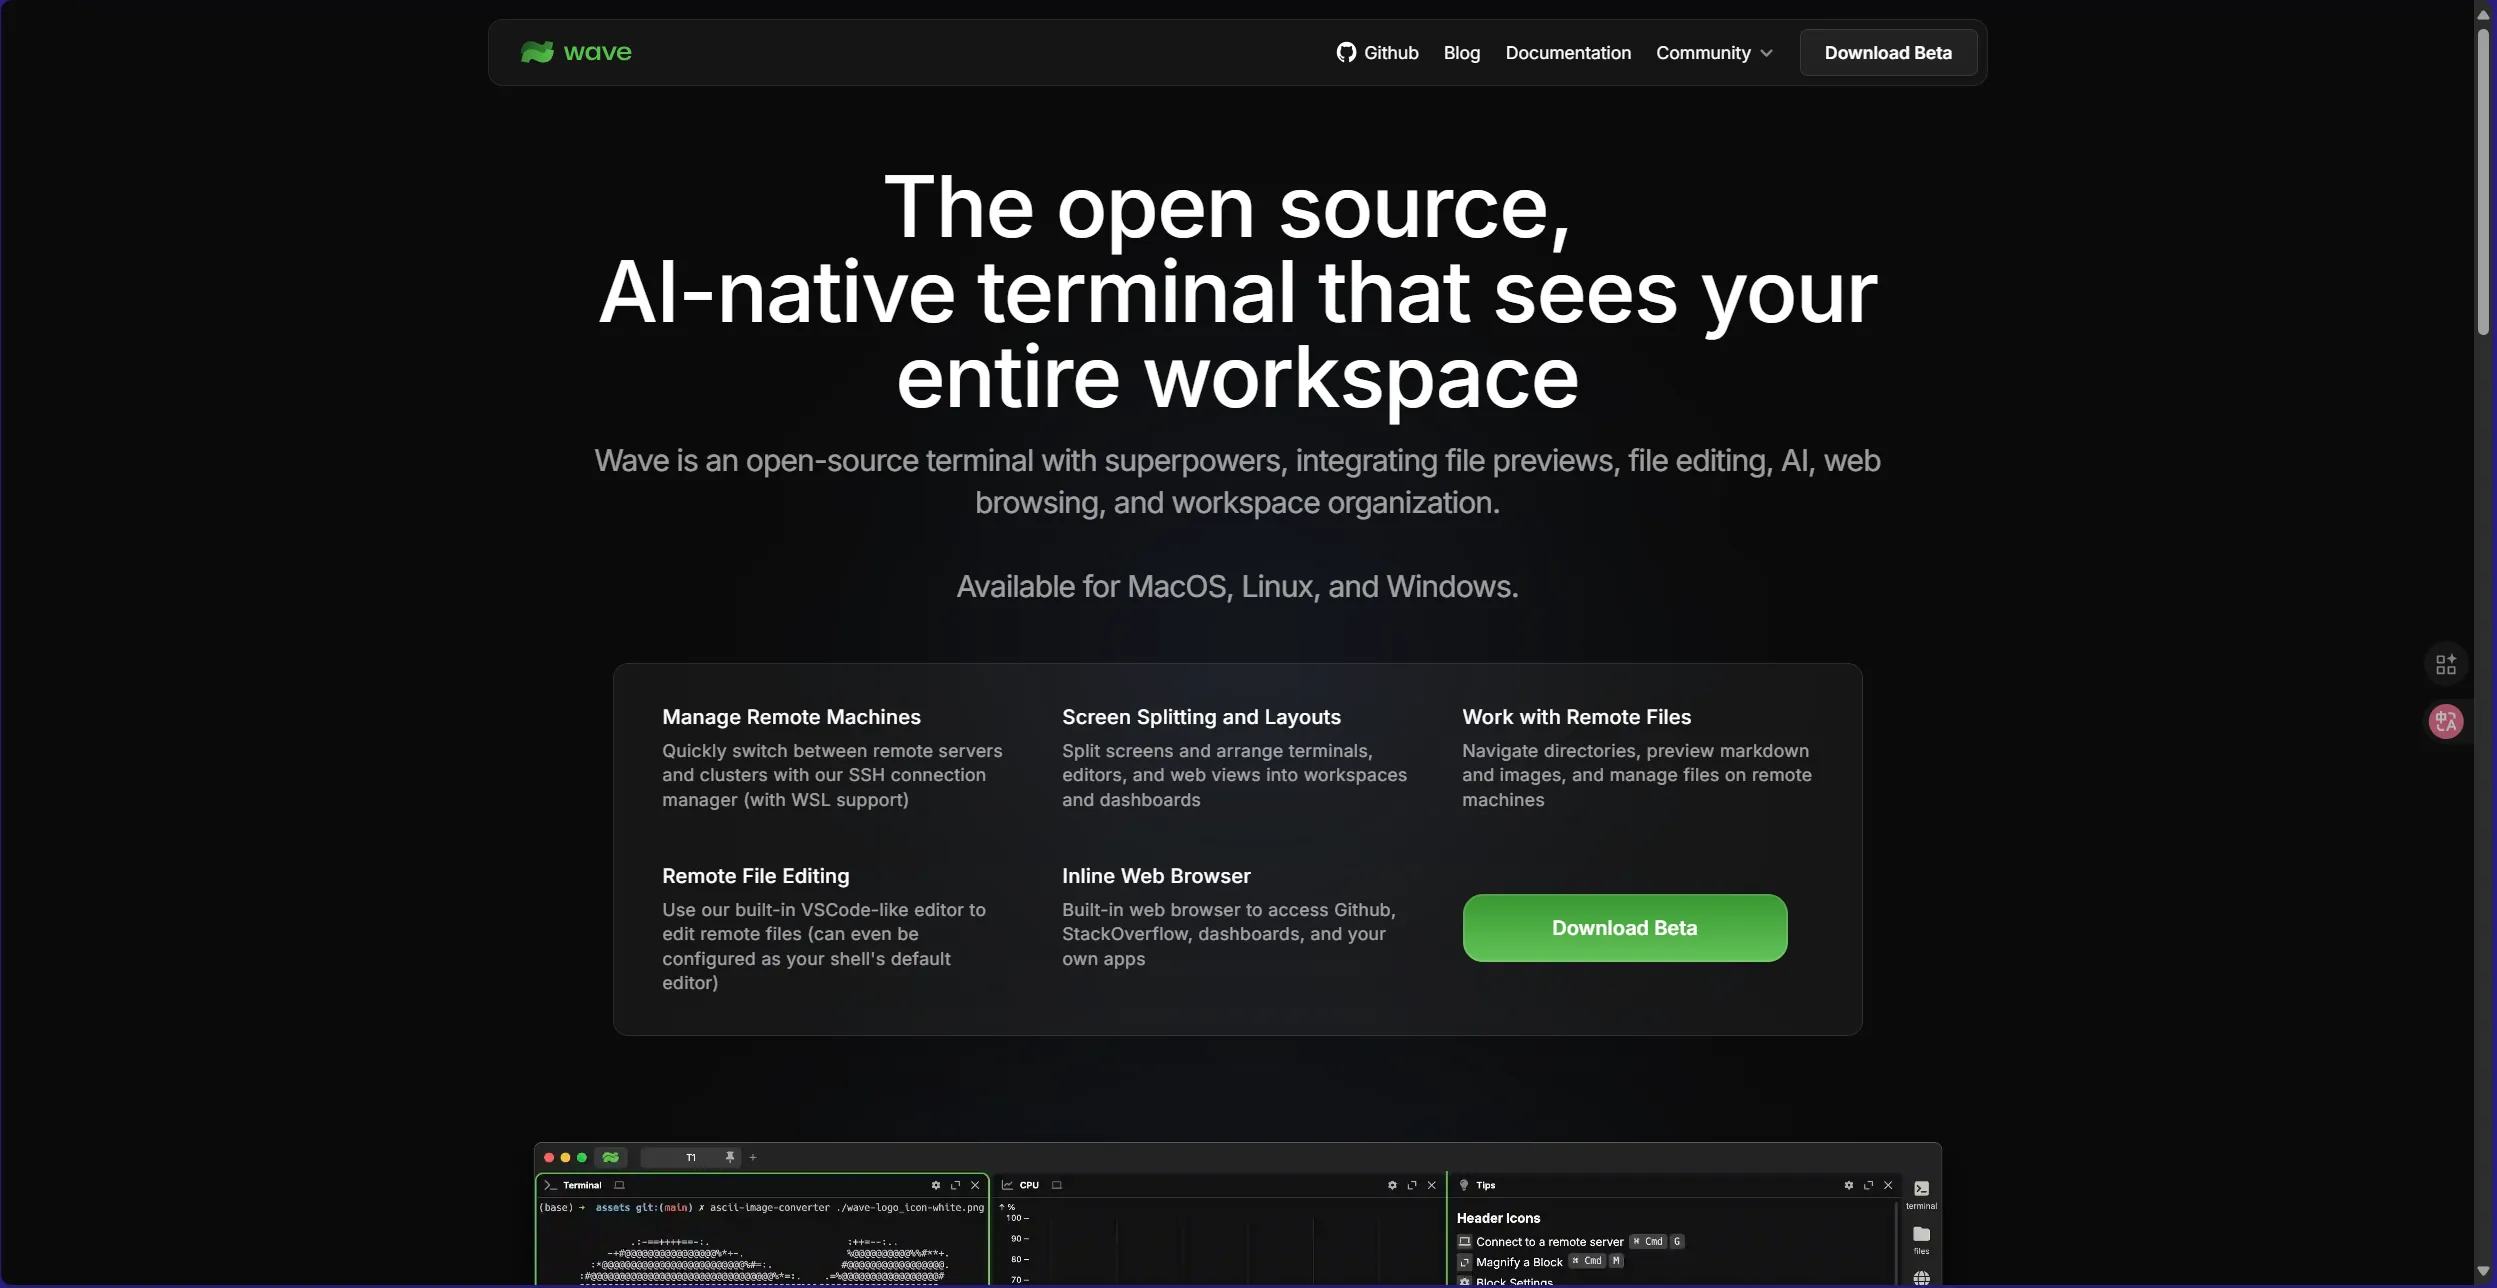
Wave Terminal - 可视化终端革命
官网:waveterm.dev
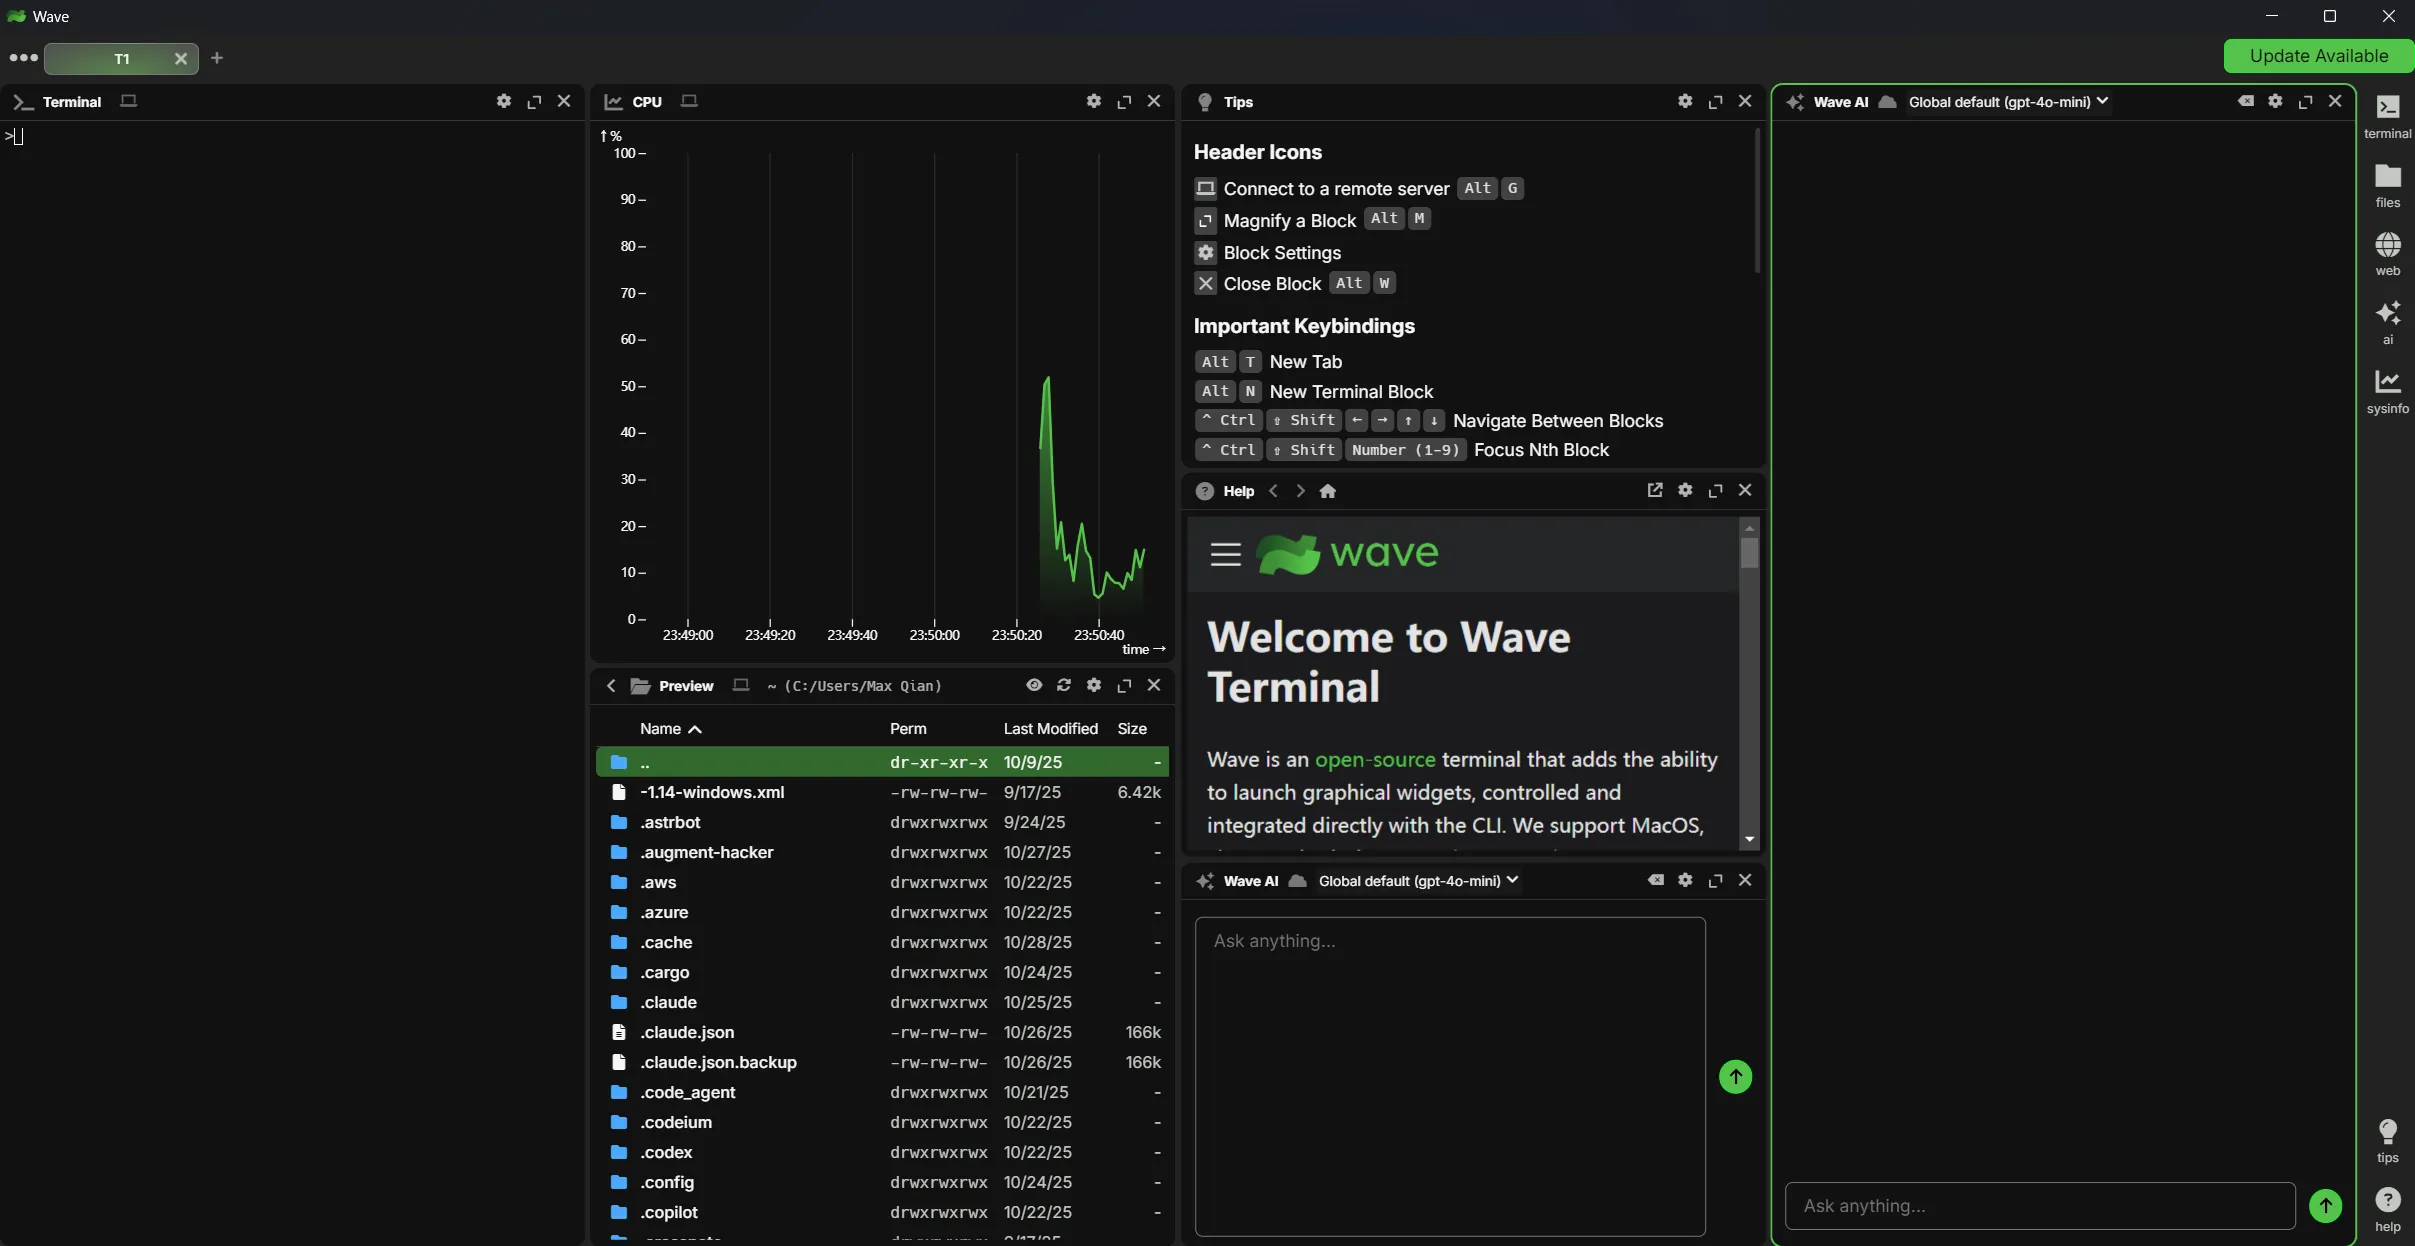
Wave 的野心:把终端变成真正的”工作空间”
Wave = 终端 + 文件管理器 + 编辑器 + 协作工具 + 可视化面板Wave 的独特功能:
可视化 Widgets
不只是文本!- 图片预览- PDF查看- Markdown渲染- 图表展示- 甚至视频播放!
$ lsfile1.txtimage.png [显示缩略图] 👈report.pdf [显示首页]video.mp4 [显示预览]分屏管理
┌─────────────┬─────────────┐│ 终端1 │ 终端2 ││ npm run dev │ tail -f log │├─────────────┼─────────────┤│ 文件浏览器 │ 代码编辑器 ││ │ │└─────────────┴─────────────┘持久化会话
Wave的特色:- 关闭窗口,会话不丢失- 重启电脑,历史还在- 所有输出都保存- 可以随时回看内置编辑器
不用切换到其他编辑器:$ wave edit config.json[在Wave内直接编辑]保存后立即生效Wave 使用场景:
# 场景1:监控多个服务[终端1] docker logs -f app[终端2] tail -f /var/log/nginx/access.log[终端3] htop[面板4] 显示系统资源图表
# 场景2:开发调试[终端1] npm run dev[终端2] npm test -- --watch[编辑器] 直接修改代码[预览] 实时查看效果
# 场景3:数据分析$ cat data.csv[Wave自动渲染成表格][可以排序、筛选、导出]Wave 的优势:
- 完全开源
- 跨平台(Windows、macOS、Linux)
- 不需要注册账号
- 本地优先,隐私安全
- 可以自定义插件
6. 终端美化大作战
为什么要美化终端?
程序员:我每天盯着终端8小时也是程序员:终端丑点无所谓
真相:- 好看的终端让你心情愉悦 😊- 清晰的配色减少眼睛疲劳 👀- 个性化的提示符提高效率 ⚡- 炫酷的终端让你看起来很专业 😎配色方案推荐
经典配色
Solarized
https://github.com/altercation/solarized
# 特点:护眼、对比度适中# 适合:长时间编程# 有深色和浅色两个版本
# 安装(以iTerm2为例)# Preferences → Profiles → Colors → Color Presets → Solarized Dark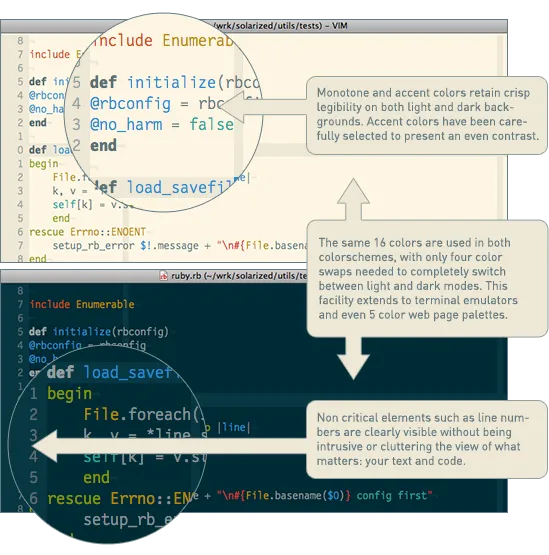
Dracula
# 特点:紫色主题、高对比度# 适合:夜间编程# 支持几乎所有终端和编辑器
# 官网:draculatheme.com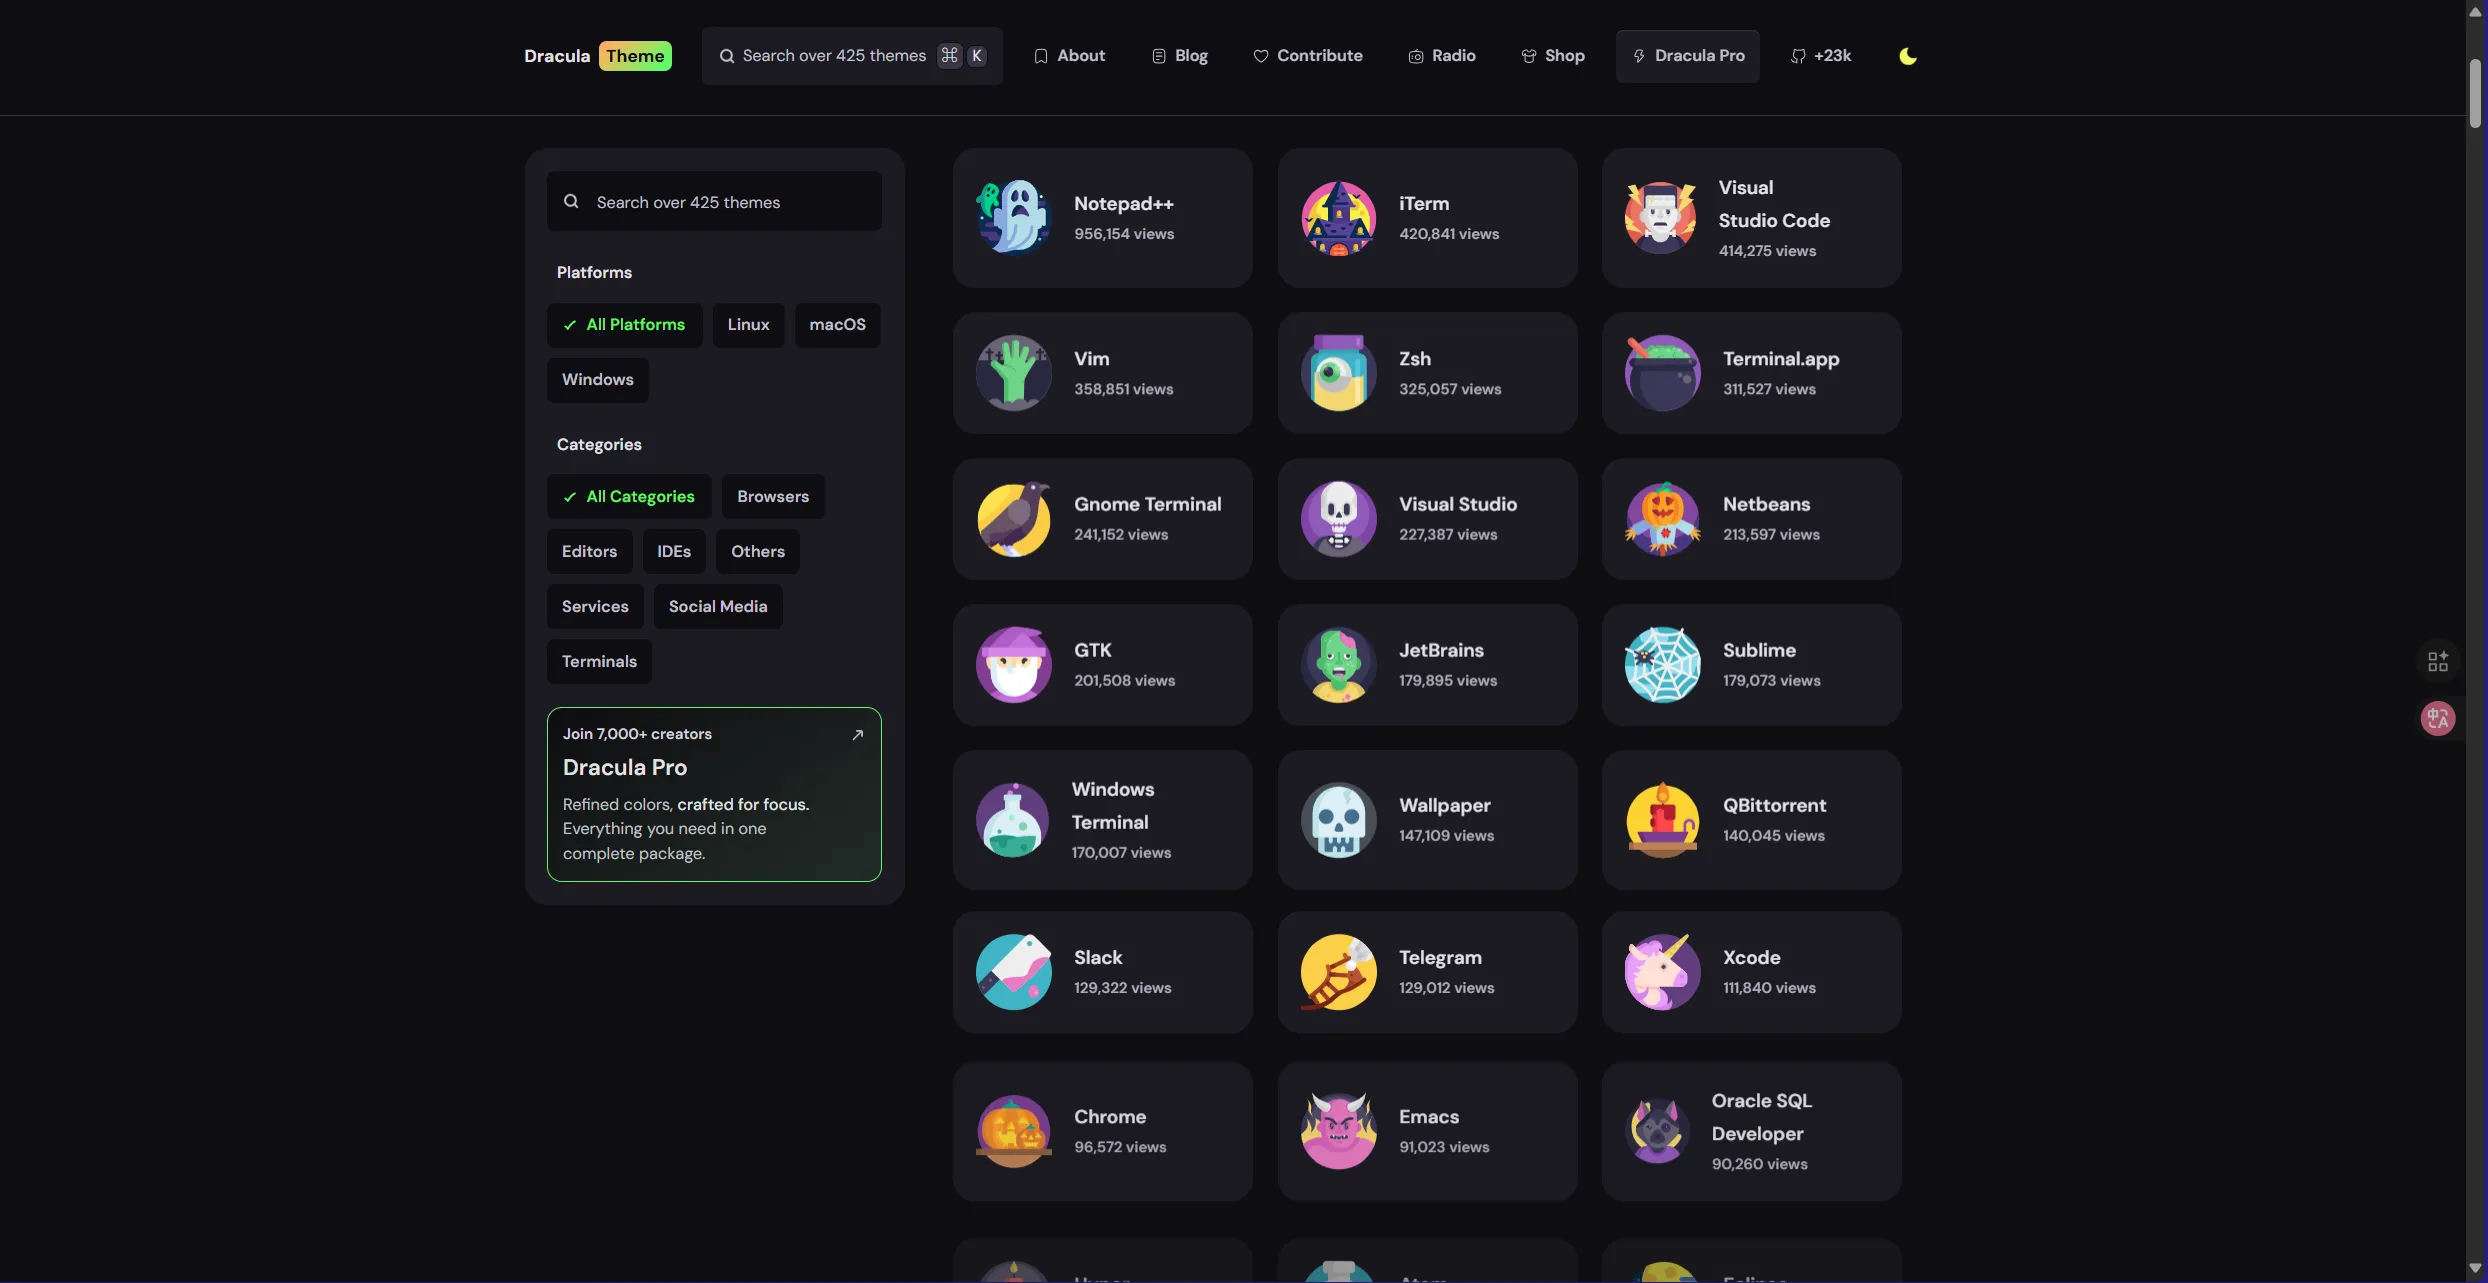
One Dark / One Light
# 特点:来自Atom编辑器# 适合:喜欢Atom风格的人# 配色和谐、不刺眼
Nord
# 特点:冷色调、北欧风# 适合:喜欢简约风格# 蓝灰色系,非常优雅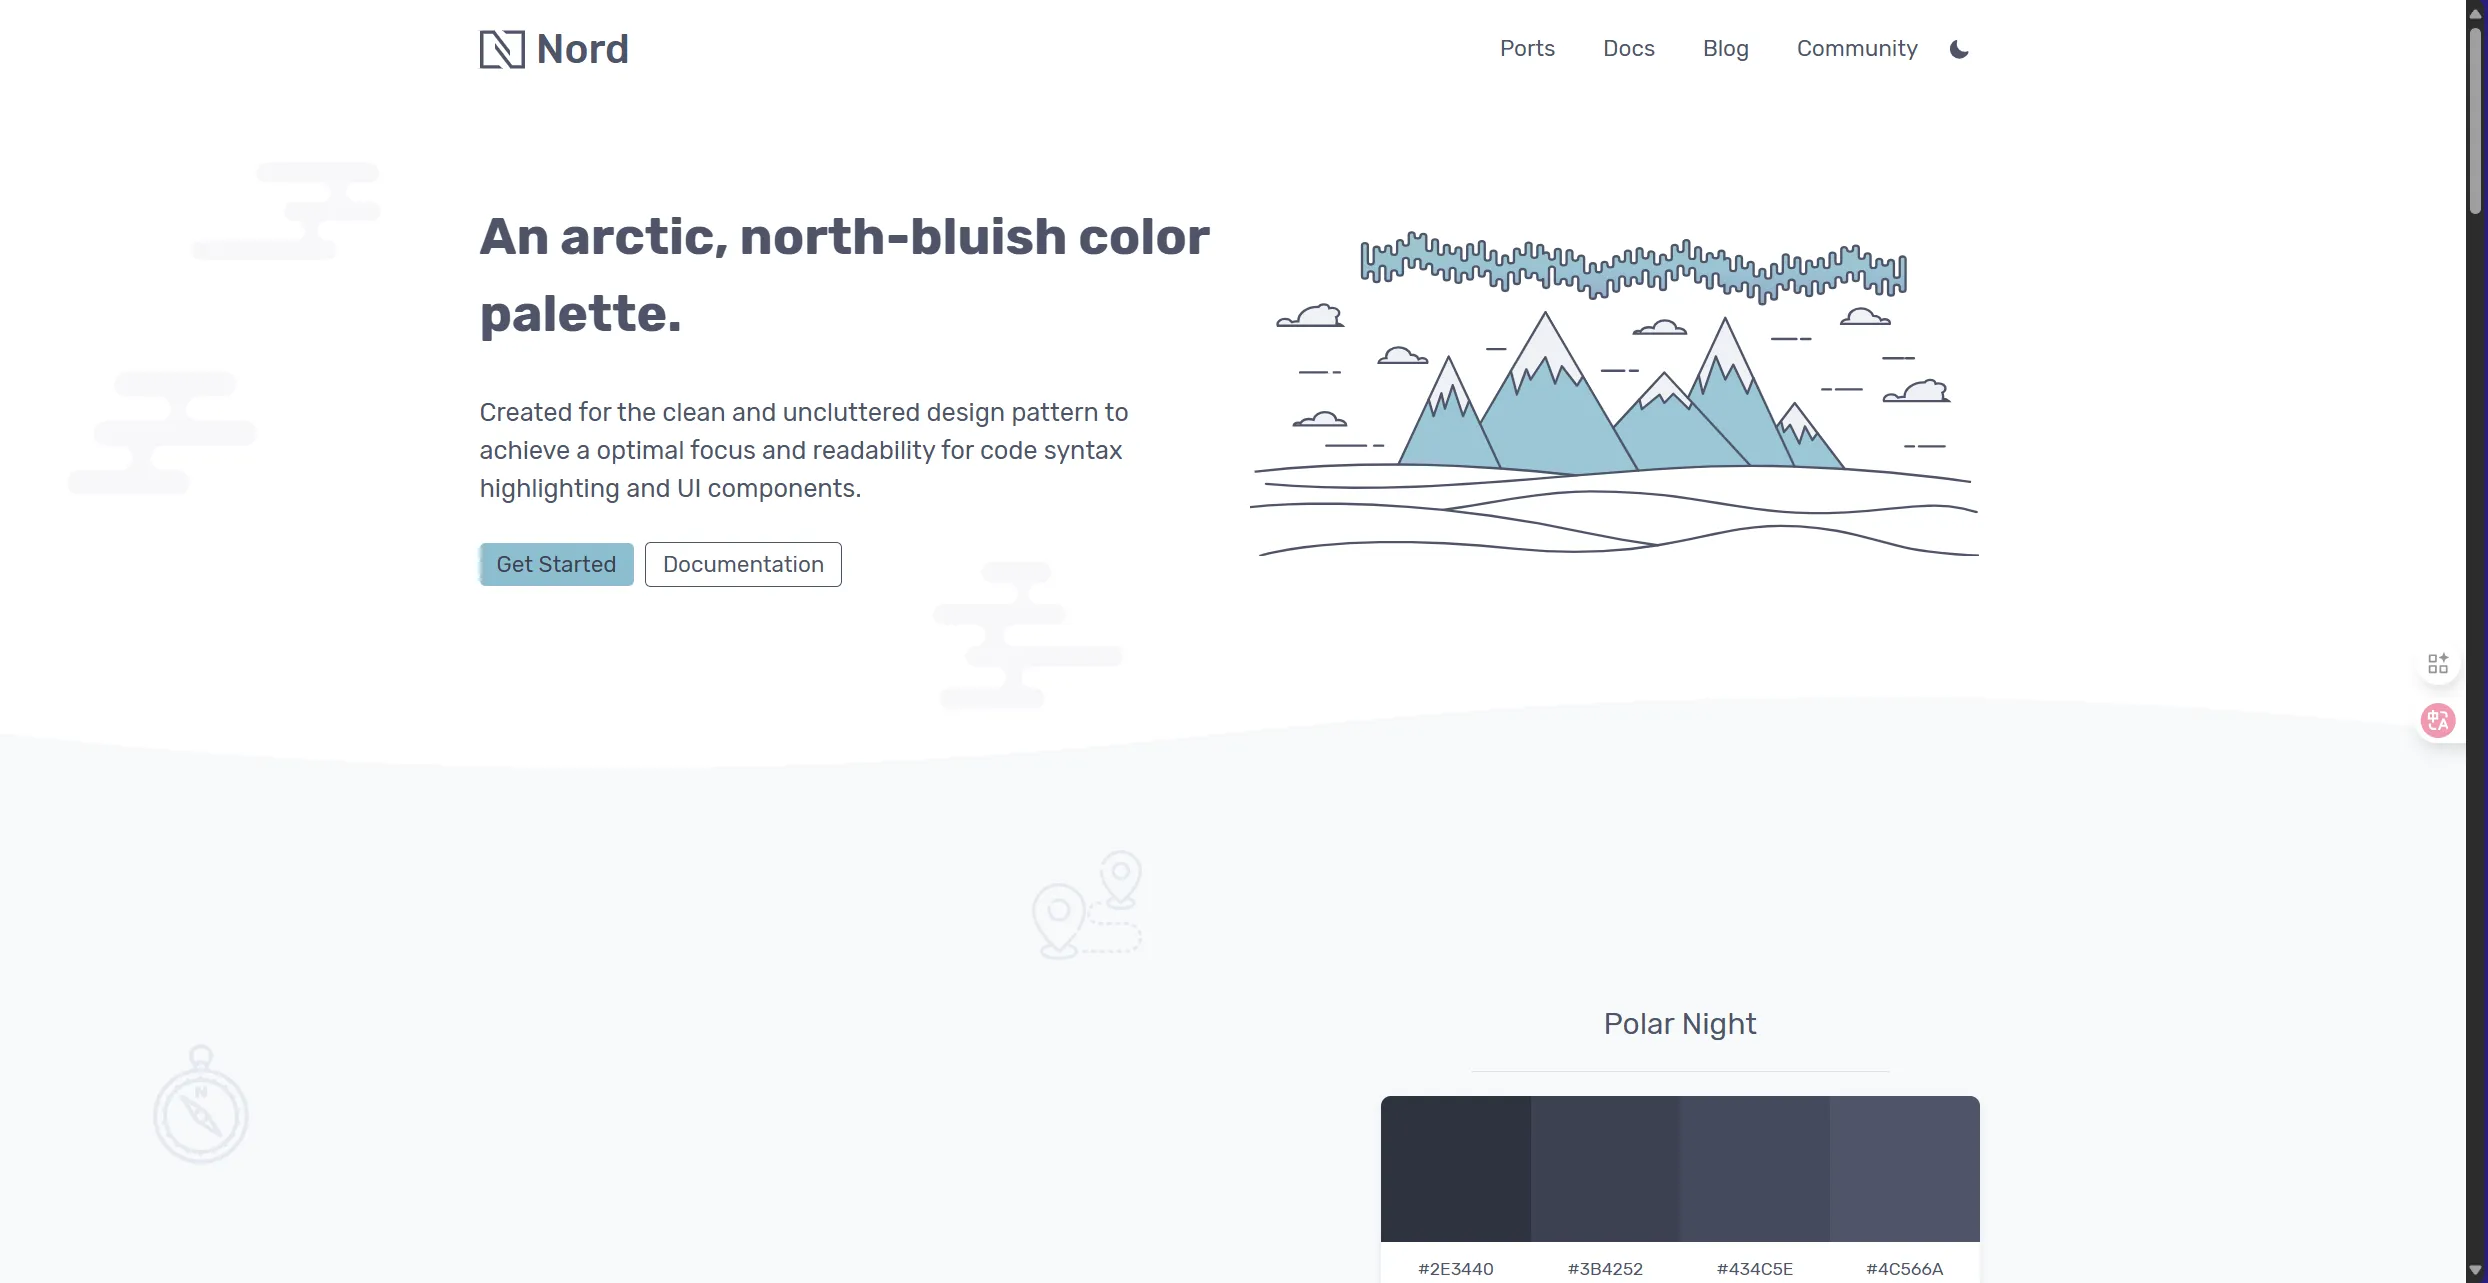
如何选择配色?
考虑因素:1. 使用时间:白天用浅色,晚上用深色2. 环境光线:强光下用高对比度3. 个人喜好:最重要的是你喜欢4. 一致性:终端和编辑器配色统一
测试方法:- 写一段代码看看- 看看日志输出- 用一天试试感觉字体选择
编程字体推荐
Cascadia Code(微软出品)
# 特点:- 免费开源- 支持连字(ligatures)- Windows Terminal默认字体- 清晰易读
# 下载:github.com/microsoft/cascadia-codeFira Code
# 特点:- 最流行的编程字体之一- 连字效果丰富- != 显示为 ≠- => 显示为 ⇒
# 下载:github.com/tonsky/FiraCodeJetBrains Mono
# 特点:- JetBrains公司出品- 专为编程设计- 字符区分度高(0 O l 1 很容易区分)
# 下载:jetbrains.com/lp/monoNerd Fonts
# 特点:- 包含大量图标和符号- 支持各种主题的图标显示- 必备!很多主题需要
# 安装:brew tap homebrew/cask-fontsbrew install font-hack-nerd-font字体配置示例
Windows Terminal
{ "profiles": { "defaults": { "font": { "face": "Cascadia Code", "size": 11, "weight": "normal" } } }}iTerm2 (macOS)
Preferences → Profiles → Text→ Font: Fira Code→ Size: 13→ Use ligatures: ✓提示符美化
Starship - 跨 Shell 的提示符
# 安装Starshipcurl -sS https://starship.rs/install.sh | sh
# Bash配置echo 'eval "$(starship init bash)"' >> ~/.bashrc
# Zsh配置echo 'eval "$(starship init zsh)"' >> ~/.zshrc
# PowerShell配置Invoke-Expression (&starship init powershell)
# Fish配置starship init fish | sourceStarship 配置示例(~/.config/starship.toml):
# 简洁模式format = """[┌───────────────────>](bold green)[│](bold green)$directory$git_branch$git_status[└─>](bold green) """
# 显示命令执行时间[cmd_duration]min_time = 500format = "took [$duration](bold yellow)"
# Git状态[git_status]conflicted = "🏳"ahead = "🏎💨"behind = "😰"diverged = "😵"untracked = "🤷"stashed = "📦"modified = "📝"staged = "✅"renamed = "👅"deleted = "🗑"
# 目录显示[directory]truncation_length = 3truncate_to_repo = trueformat = "[$path]($style)[$read_only]($read_only_style) "
# 编程语言图标[nodejs]symbol = " "
[python]symbol = " "
[rust]symbol = " "Powerlevel10k - Zsh 专用超级主题
# 安装git clone --depth=1 https://github.com/romkatv/powerlevel10k.git ${ZSH_CUSTOM:-$HOME/.oh-my-zsh/custom}/themes/powerlevel10k
# 在 ~/.zshrc 中设置ZSH_THEME="powerlevel10k/powerlevel10k"
# 运行配置向导p10k configure
# 配置向导会问你:# - 喜欢什么样的图标?# - 提示符在左边还是右边?# - 要显示哪些信息?# - 要不要显示时间?# - 等等...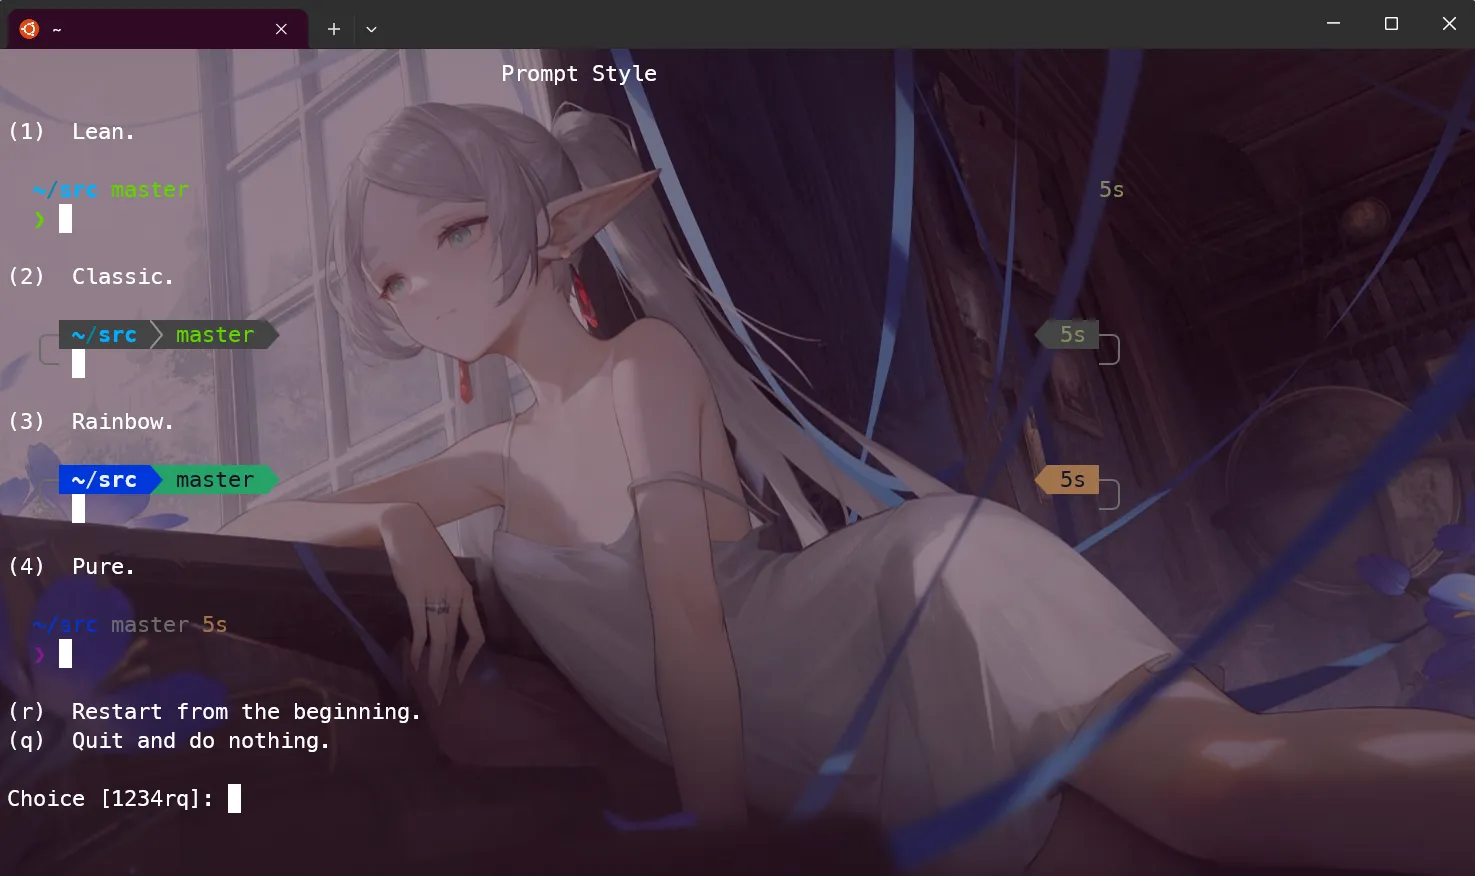
Powerlevel10k 特色:
提示符可以显示:✓ Git状态(分支、修改、冲突)✓ 命令执行时间✓ 退出代码✓ 后台任务数量✓ Python虚拟环境✓ Node.js版本✓ 当前时间✓ 电池电量✓ 还有更多...
而且速度超快!⚡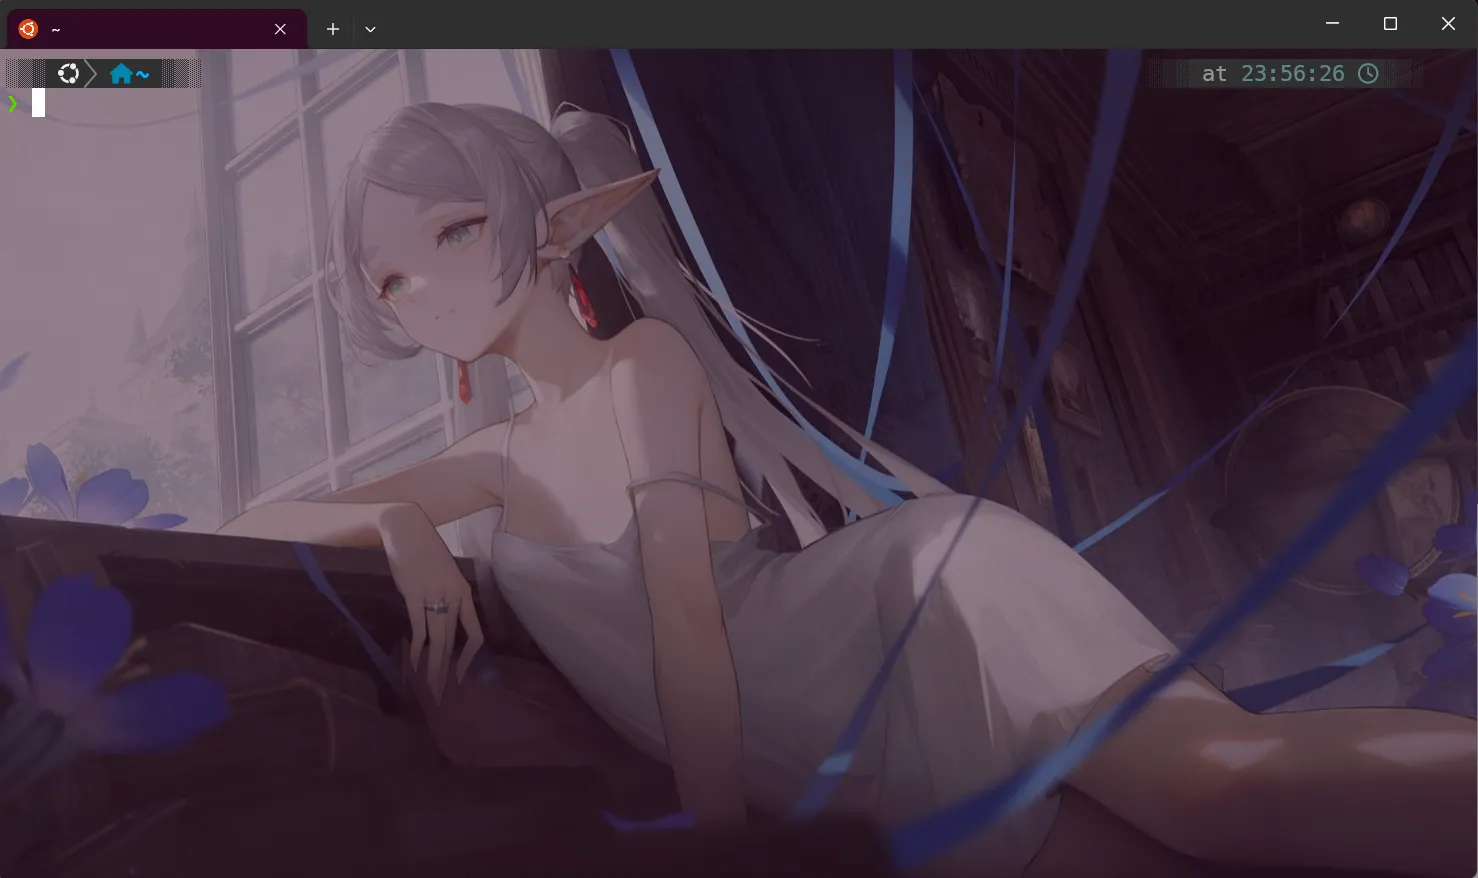
终端透明度和背景
Windows Terminal
{ "profiles": { "defaults": { // 透明度(0-100) "opacity": 85,
// 亚克力效果 "useAcrylic": true,
// 背景图片 "backgroundImage": "C:/Images/wallpaper.jpg", "backgroundImageOpacity": 0.2, "backgroundImageStretchMode": "uniformToFill",
// 背景图片对齐 "backgroundImageAlignment": "center" } }}iTerm2
Preferences → Profiles → Window→ Transparency: 15%→ Blur: 10
Preferences → Profiles → Window → Background Image→ Image: 选择图片→ Blending: 0.3终端分屏和标签
Tmux - 终端复用器
# 安装sudo apt install tmux # Linuxbrew install tmux # macOS
# 基础使用tmux # 启动新会话tmux new -s work # 创建名为work的会话tmux attach -t work # 连接到work会话tmux ls # 列出所有会话
# 快捷键(默认前缀:Ctrl+b)Ctrl+b % # 垂直分屏Ctrl+b " # 水平分屏Ctrl+b 方向键 # 切换面板Ctrl+b c # 新建窗口Ctrl+b n # 下一个窗口Ctrl+b p # 上一个窗口Ctrl+b d # 断开会话(后台运行)Tmux 配置示例(~/.tmux.conf):
# 修改前缀键为 Ctrl+aunbind C-bset -g prefix C-abind C-a send-prefix
# 鼠标支持set -g mouse on
# 从1开始编号(而不是0)set -g base-index 1setw -g pane-base-index 1
# 更好的分屏快捷键bind | split-window -hbind - split-window -v
# 快速重载配置bind r source-file ~/.tmux.conf \; display "配置已重载!"
# 状态栏美化set -g status-bg colour235set -g status-fg colour136set -g status-left '#[fg=green]#S 'set -g status-right '#[fg=yellow]%Y-%m-%d %H:%M'Oh My Tmux - Tmux 美化
# 安装cd ~git clone https://github.com/gpakosz/.tmux.gitln -s -f .tmux/.tmux.confcp .tmux/.tmux.conf.local .
# 特点:- 开箱即用的美化配置- 电池电量显示- 更好的状态栏- 更多的快捷键终端录制和分享
Asciinema - 录制终端会话
# 安装pip install asciinema
# 录制asciinema rec demo.cast
# 播放asciinema play demo.cast
# 上传分享asciinema upload demo.cast# 会得到一个链接,可以分享给别人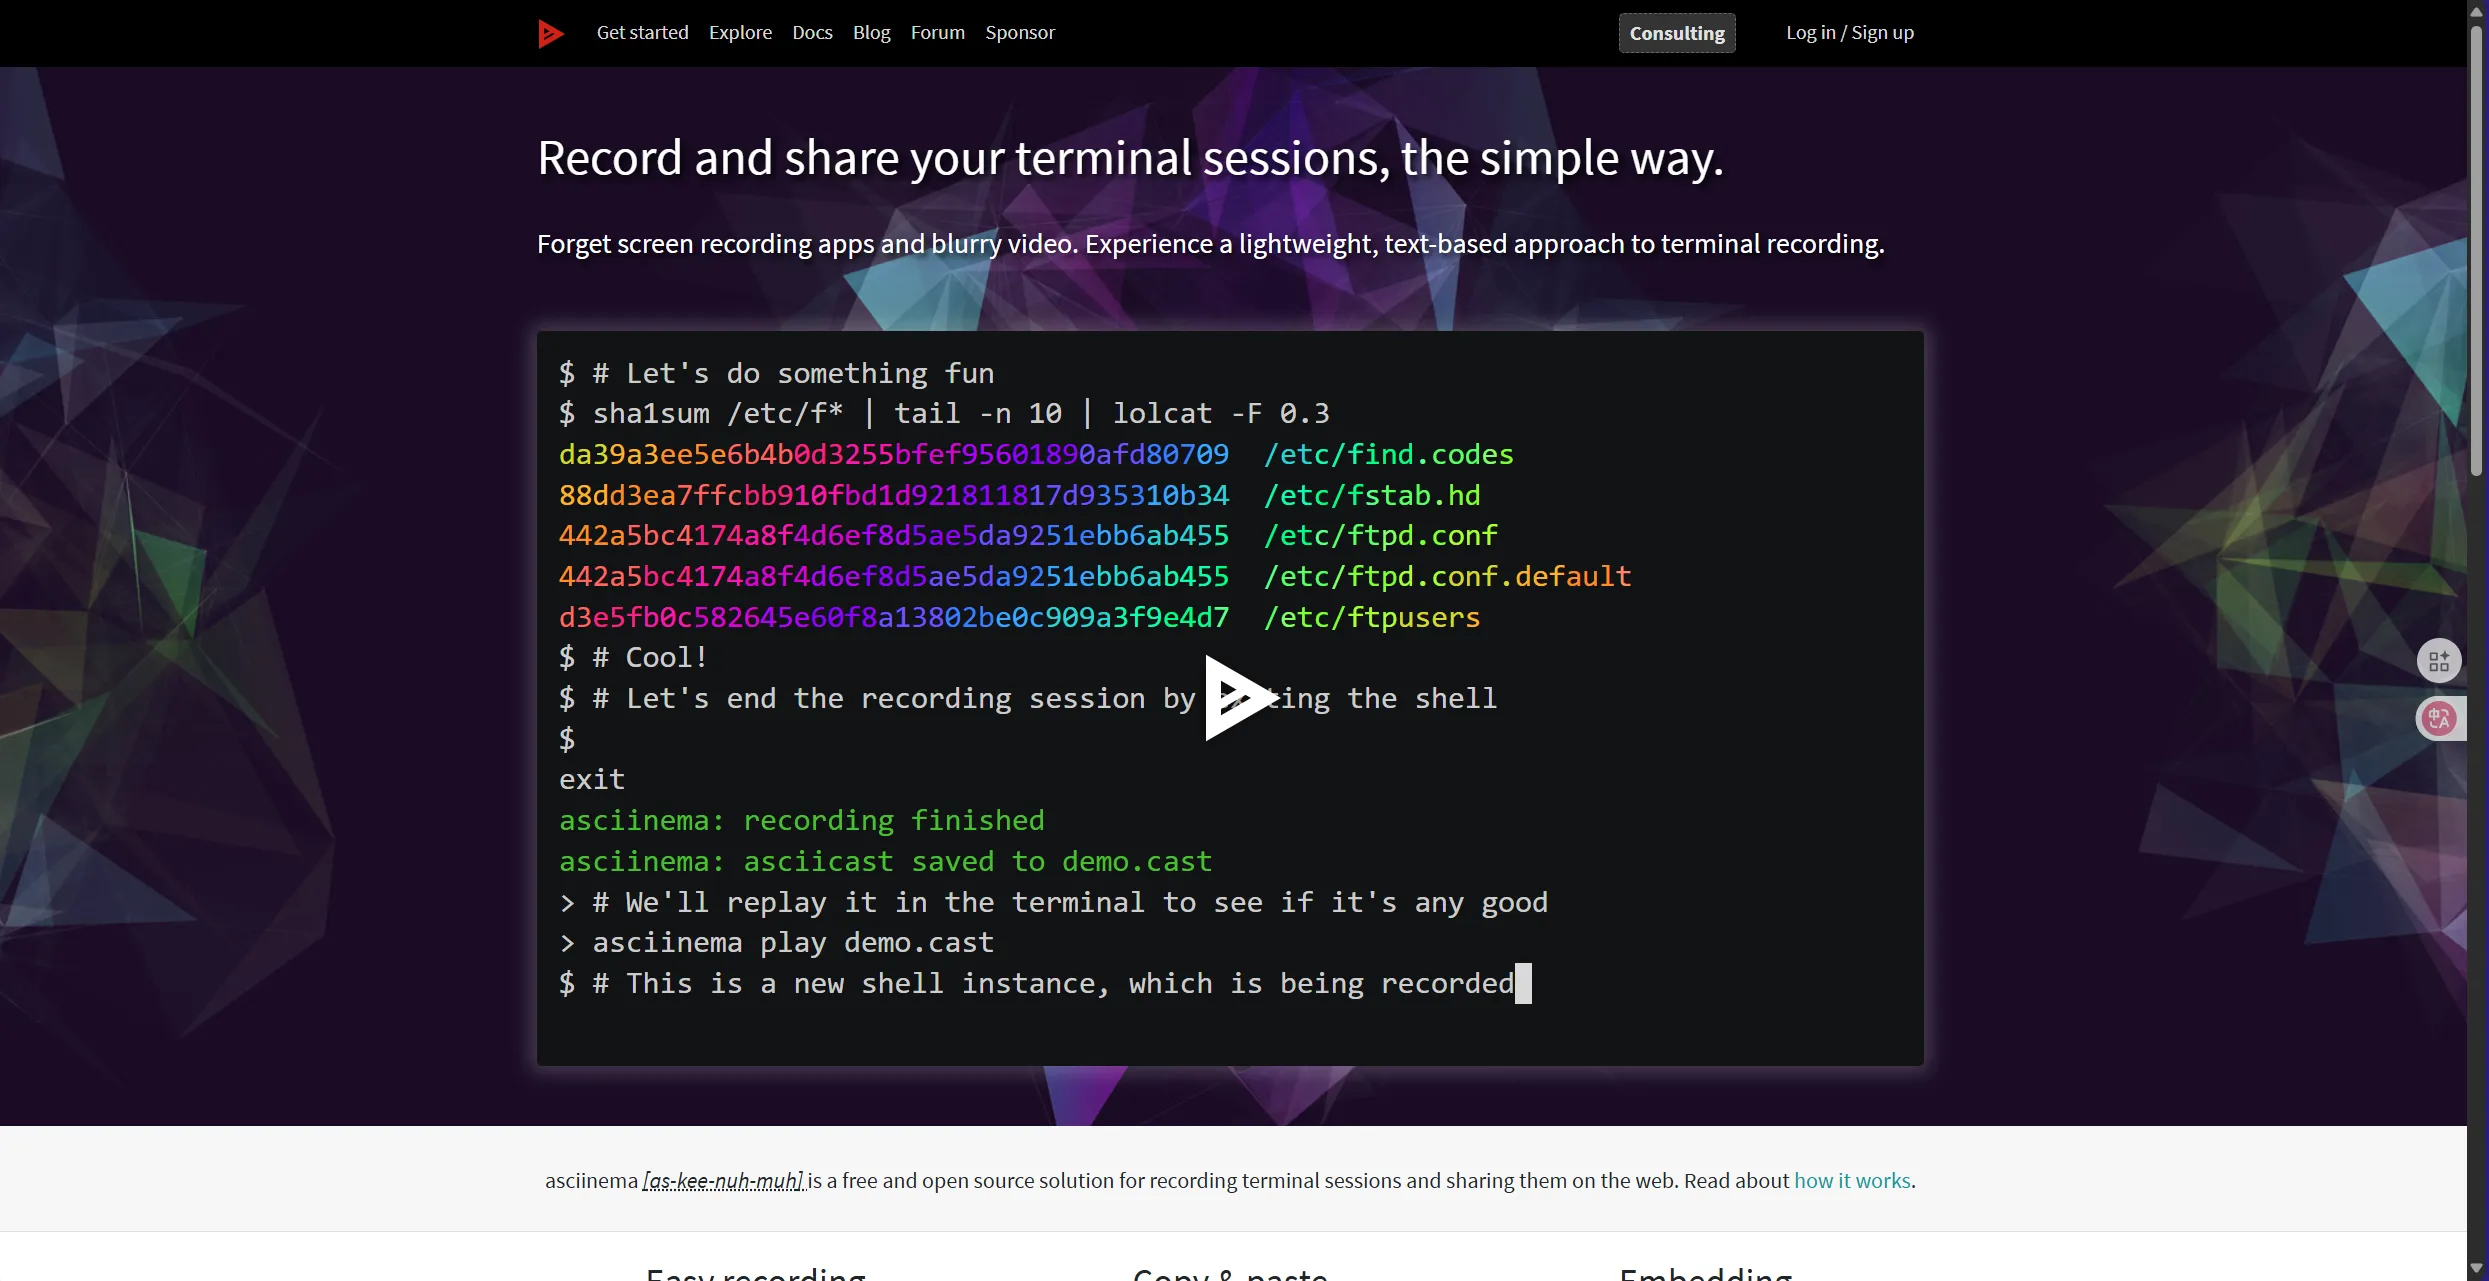
terminalizer - 生成 GIF 动画
# 安装npm install -g terminalizer
# 录制terminalizer record demo
# 播放terminalizer play demo
# 生成GIFterminalizer render demo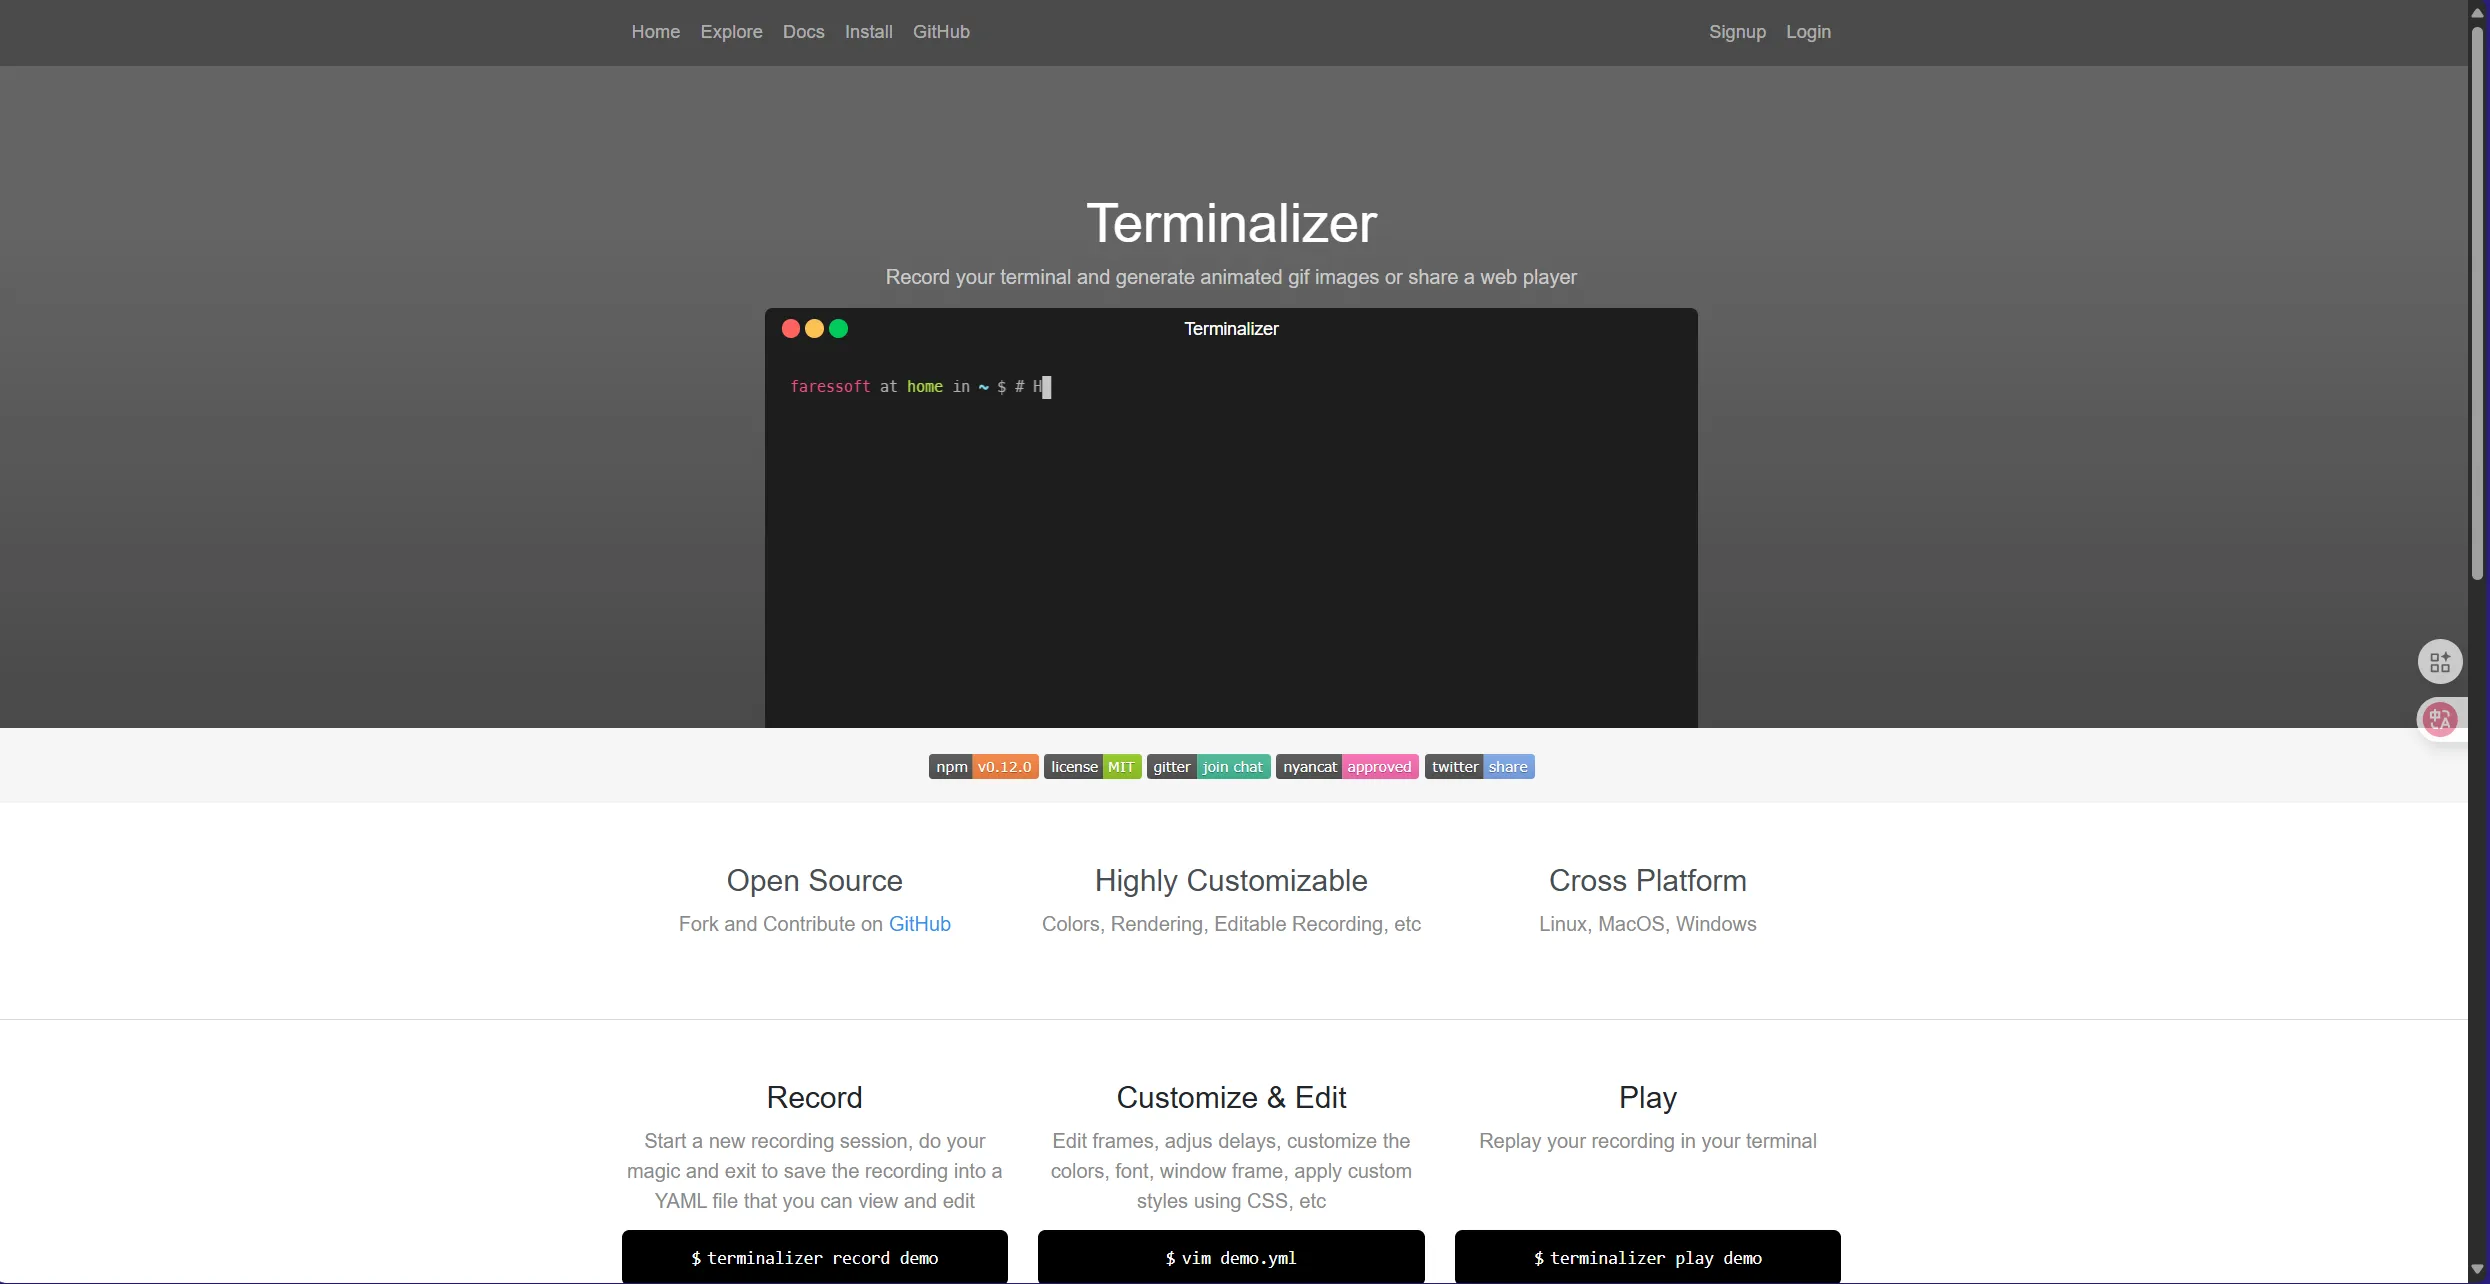
完整美化方案示例
macOS + iTerm2 + Zsh + Oh My Zsh
# 1. 安装iTerm2brew install --cask iterm2
# 2. 安装Oh My Zshsh -c "$(curl -fsSL https://raw.githubusercontent.com/ohmyzsh/ohmyzsh/master/tools/install.sh)"
# 3. 安装Powerlevel10k主题git clone --depth=1 https://github.com/romkatv/powerlevel10k.git ${ZSH_CUSTOM:-$HOME/.oh-my-zsh/custom}/themes/powerlevel10k
# 4. 安装Nerd Fontbrew tap homebrew/cask-fontsbrew install font-meslo-lg-nerd-font
# 5. 配置iTerm2# - 字体:MesloLGS NF# - 配色:Dracula# - 透明度:15%
# 6. 安装插件git clone https://github.com/zsh-users/zsh-autosuggestions ${ZSH_CUSTOM:-~/.oh-my-zsh/custom}/plugins/zsh-autosuggestionsgit clone https://github.com/zsh-users/zsh-syntax-highlighting.git ${ZSH_CUSTOM:-~/.oh-my-zsh/custom}/plugins/zsh-syntax-highlighting
# 7. 编辑 ~/.zshrcZSH_THEME="powerlevel10k/powerlevel10k"plugins=( git zsh-autosuggestions zsh-syntax-highlighting docker kubectl)
# 8. 运行配置向导p10k configureWindows + Windows Terminal + PowerShell
# 1. 安装Windows Terminal(Microsoft Store)
# 2. 安装Oh My Poshwinget install JanDeDobbeleer.OhMyPosh
# 3. 安装Nerd Fontoh-my-posh font install
# 4. 配置PowerShell配置文件notepad $PROFILE
# 添加以下内容:
oh-my-posh init pwsh --config "$env:POSH_THEMES_PATH\jandedobbeleer.omp.json" | Invoke-Expression
# 5. 配置Windows Terminal (settings.json){ "profiles": { "defaults": { "font": { "face": "MesloLGM Nerd Font", "size": 11 }, "opacity": 85, "useAcrylic": true, "colorScheme": "Dracula" } }}
# 6. 安装PSReadLine(更好的命令行编辑)Install-Module -Name PSReadLine -Force
# 7. 在 $PROFILE 中添加Set-PSReadLineOption -PredictionSource HistorySet-PSReadLineOption -PredictionViewStyle ListView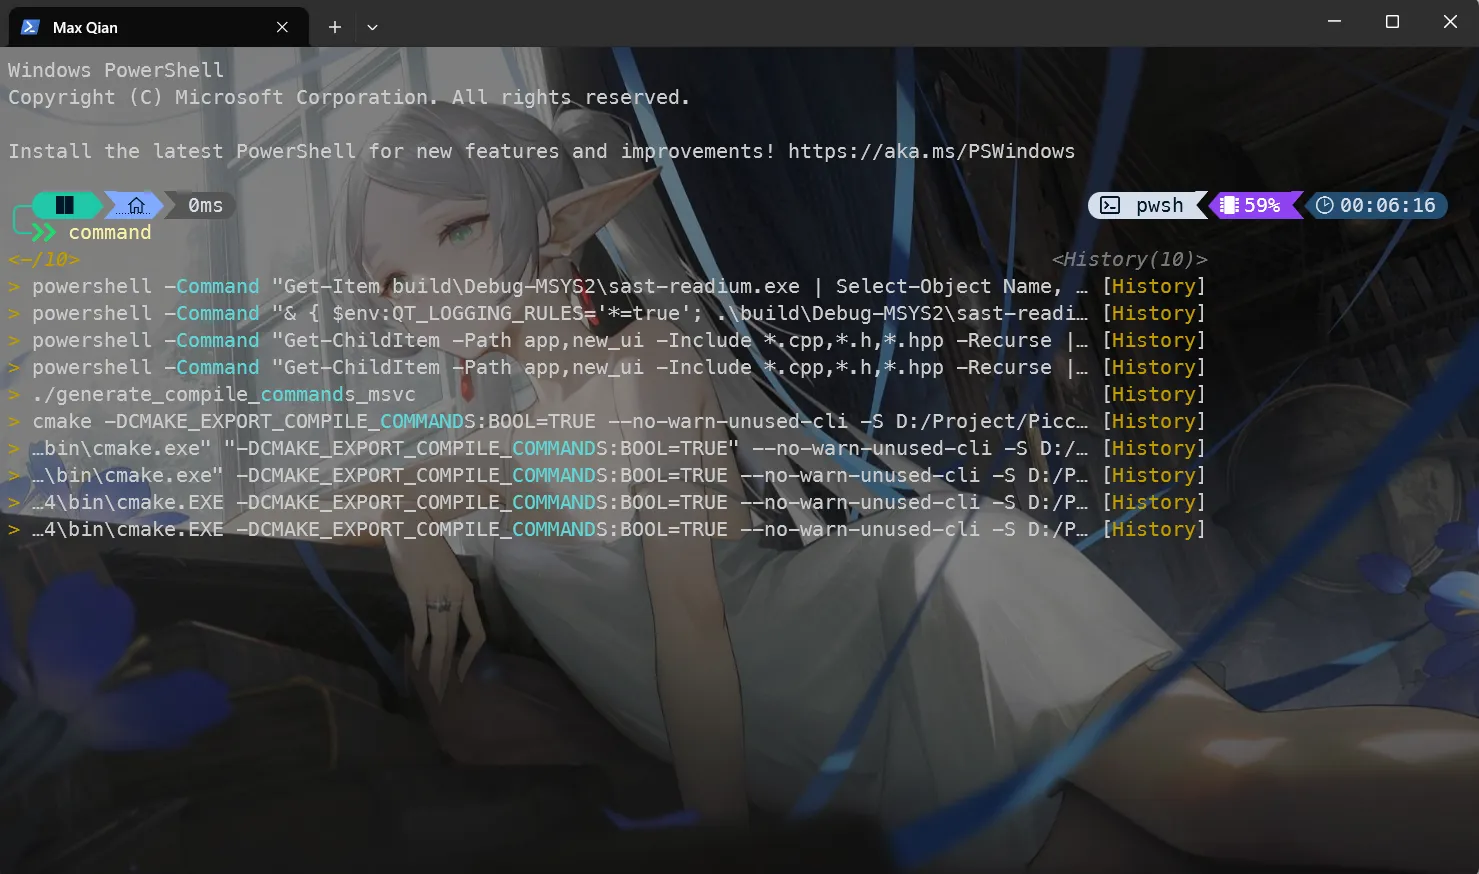
7. 实用技巧速成班
文件和目录操作
快速导航
# 回到上一个目录cd -
# 回到家目录cd ~cd
# 创建多层目录mkdir -p project/src/components
# 创建目录并进入mkdir myproject && cd myproject
# 或者定义函数(Bash/Zsh)mkcd() { mkdir -p "$1" && cd "$1"}文件查找
# 按名称查找find . -name "*.txt"
# 按类型查找find . -type f # 文件find . -type d # 目录
# 按大小查找find . -size +100M # 大于100MBfind . -size -1k # 小于1KB
# 按时间查找find . -mtime -7 # 最近7天修改的find . -mtime +30 # 30天前修改的
# 查找并执行find . -name "*.log" -deletefind . -name "*.jpg" -exec cp {} /backup \;
# 更快的查找(需要安装fd)fd "*.txt" # 查找txt文件fd -e py # 查找Python文件fd -t d project # 查找名为project的目录文件内容搜索
# grep基础grep "error" log.txtgrep -i "error" log.txt # 忽略大小写grep -r "TODO" . # 递归搜索grep -n "error" log.txt # 显示行号grep -v "debug" log.txt # 反向匹配(不包含)
# 多文件搜索grep "error" *.log
# 正则表达式grep -E "[0-9]{3}-[0-9]{4}" contacts.txt
# 更好的grep(需要安装ripgrep)rg "error" # 自动递归、彩色输出rg -i "error" # 忽略大小写rg "error" -t py # 只搜索Python文件rg "error" -g "*.log" # 只搜索log文件进程管理
查看进程
# 查看所有进程ps aux
# 查看特定进程ps aux | grep python
# 实时监控(更好用的top)htop
# 查看进程树pstree
# 查看端口占用lsof -i :8080netstat -tulpn | grep 8080
# Windowsnetstat -ano | findstr :8080管理进程
# 后台运行command &
# 查看后台任务jobs
# 将任务放到后台Ctrl+Z # 暂停bg # 后台继续运行
# 将任务调到前台fg
# 杀死进程kill PIDkill -9 PID # 强制杀死killall process_name # 按名称杀死
# 保持进程运行(即使退出终端)nohup command &文本处理
查看文件
# 查看整个文件cat file.txt
# 分页查看less file.txtmore file.txt
# 查看前几行head file.txthead -n 20 file.txt # 前20行
# 查看后几行tail file.txttail -n 20 file.txt # 后20行tail -f log.txt # 实时查看(日志)
# 查看文件统计wc file.txt # 行数、词数、字节数wc -l file.txt # 只看行数文本编辑
# sed - 流编辑器sed 's/old/new/' file.txt # 替换(每行第一个)sed 's/old/new/g' file.txt # 替换(所有)sed -i 's/old/new/g' file.txt # 直接修改文件sed -n '10,20p' file.txt # 打印10-20行sed '/pattern/d' file.txt # 删除匹配的行
# awk - 文本分析awk '{print $1}' file.txt # 打印第一列awk '{print $1, $3}' file.txt # 打印第1和第3列awk -F: '{print $1}' /etc/passwd # 指定分隔符awk '$3 > 100' data.txt # 条件过滤
# cut - 剪切文本cut -d: -f1 /etc/passwd # 按:分割,取第1字段cut -c1-10 file.txt # 取每行的1-10字符
# sort - 排序sort file.txtsort -r file.txt # 逆序sort -n file.txt # 数字排序sort -u file.txt # 去重
# uniq - 去重(需要先排序)sort file.txt | uniqsort file.txt | uniq -c # 统计重复次数管道和重定向
重定向
# 输出重定向command > file.txt # 覆盖command >> file.txt # 追加
# 错误重定向command 2> error.log # 只重定向错误command > output.txt 2>&1 # 输出和错误都重定向command &> all.log # 简写(Bash)
# 输入重定向command < input.txt
# Here Documentcat << EOF > file.txt第一行第二行EOF管道
# 基础管道ls -l | grep ".txt"
# 多级管道ps aux | grep python | awk '{print $2}'
# tee - 同时输出到文件和屏幕command | tee output.txtcommand | tee -a output.txt # 追加模式
# xargs - 将输入转为参数find . -name "*.txt" | xargs rmecho "file1 file2 file3" | xargs touch网络操作
下载文件
# wgetwget https://example.com/file.zipwget -O custom_name.zip https://example.com/file.zipwget -c https://example.com/file.zip # 断点续传
# curlcurl -O https://example.com/file.zipcurl -o custom_name.zip https://example.com/file.zipcurl -L https://example.com/redirect # 跟随重定向网络测试
# pingping google.comping -c 4 google.com # 只ping 4次
# traceroutetraceroute google.com
# 查看IPip addr # Linuxifconfig # macOS/旧版Linuxipconfig # Windows
# 测试端口telnet example.com 80nc -zv example.com 80 # netcat
# DNS查询nslookup google.comdig google.com
# 查看网络连接netstat -anss -tulpn # 更现代的替代品压缩和解压
# tartar -czf archive.tar.gz folder/ # 压缩tar -xzf archive.tar.gz # 解压tar -tzf archive.tar.gz # 查看内容
# zipzip -r archive.zip folder/ # 压缩unzip archive.zip # 解压unzip -l archive.zip # 查看内容
# 7z7z a archive.7z folder/ # 压缩7z x archive.7z # 解压系统信息
# 系统信息uname -a # 系统信息lsb_release -a # Linux发行版信息(Linux)
# CPU信息lscpu # Linuxsysctl -n machdep.cpu.brand_string # macOS
# 内存信息free -h # Linuxvm_stat # macOS
# 磁盘信息df -h # 磁盘使用情况du -sh * # 当前目录各文件/文件夹大小du -sh folder/ # 特定文件夹大小
# 系统监控top # 基础监控htop # 更好的监控(需安装)glances # 全面的监控(需安装)快捷技巧
命令行编辑
# 光标移动Ctrl+A # 行首Ctrl+E # 行尾Alt+B # 后退一个单词Alt+F # 前进一个单词
# 删除Ctrl+U # 删除到行首Ctrl+K # 删除到行尾Ctrl+W # 删除前一个单词Alt+D # 删除后一个单词
# 其他Ctrl+L # 清屏Ctrl+R # 搜索历史Ctrl+C # 取消当前命令Ctrl+D # 退出(EOF)Ctrl+Z # 暂停进程历史命令
# 查看历史history
# 执行历史命令!100 # 执行第100条命令!! # 执行上一条命令!$ # 上一条命令的最后一个参数!^ # 上一条命令的第一个参数!* # 上一条命令的所有参数
# 搜索历史Ctrl+R # 反向搜索Ctrl+S # 正向搜索(可能需要stty -ixon)
# 清除历史history -c # 清除当前会话历史rm ~/.bash_history # 删除历史文件别名
# 定义别名alias ll='ls -lah'alias gs='git status'alias ..='cd ..'alias ...='cd ../..'
# 查看所有别名alias
# 删除别名unalias ll
# 永久保存(添加到 ~/.bashrc 或 ~/.zshrc)echo "alias ll='ls -lah'" >> ~/.bashrc函数
# 定义函数(Bash/Zsh)mkcd() { mkdir -p "$1" && cd "$1"}
# 带参数的函数extract() { if [ -f "$1" ]; then case "$1" in *.tar.gz) tar -xzf "$1" ;; *.zip) unzip "$1" ;; *.7z) 7z x "$1" ;; *) echo "不支持的格式" ;; esac else echo "文件不存在" fi}
# 保存到配置文件# 添加到 ~/.bashrc 或 ~/.zshrc实用脚本示例
批量处理
#!/bin/bash# 批量重命名图片
counter=1for file in *.jpg; do new_name=$(printf "photo_%03d.jpg" $counter) mv "$file" "$new_name" echo "重命名: $file -> $new_name" ((counter++))done系统备份
#!/bin/bash# 简单备份脚本
backup_dir="/backup/$(date +%Y%m%d_%H%M%S)"source_dir="/important/data"
echo "开始备份..."mkdir -p "$backup_dir"tar -czf "$backup_dir/backup.tar.gz" "$source_dir"
if [ $? -eq 0 ]; then echo "备份成功: $backup_dir/backup.tar.gz"else echo "备份失败!" exit 1fi
# 删除7天前的备份find /backup -name "*.tar.gz" -mtime +7 -deleteecho "清理完成"日志分析
#!/bin/bash# 分析Nginx访问日志
log_file="/var/log/nginx/access.log"
echo "=== 访问最多的IP ==="awk '{print $1}' "$log_file" | sort | uniq -c | sort -rn | head -10
echo -e "\n=== 访问最多的URL ==="awk '{print $7}' "$log_file" | sort | uniq -c | sort -rn | head -10
echo -e "\n=== HTTP状态码统计 ==="awk '{print $9}' "$log_file" | sort | uniq -c | sort -rn
echo -e "\n=== 每小时访问量 ==="awk '{print $4}' "$log_file" | cut -d: -f2 | sort | uniq -c总结
恭喜你完成了这个终端教程!🎉
现在你已经学会了:
- ✅ 终端的历史和演变
- ✅ 各种 Shell 的特点和使用
- ✅ Windows 和 Linux/Unix 的终端工具
- ✅ 现代 AI 驱动的终端
- ✅ 终端美化技巧
- ✅ 实用的命令行技巧
下一步建议:
- 选择一个 Shell:根据你的系统和喜好选择(Bash、Zsh、PowerShell、Fish)
- 美化你的终端:选择喜欢的配色和字体
- 学习快捷键:提高效率的关键
- 写一些脚本:自动化重复任务
- 探索新工具:尝试 Warp、Wave 等现代终端
记住:
终端不只是黑色窗口,它是程序员最强大的工具之一。 熟练使用终端,你会发现很多事情变得简单高效。
最后的建议:
# 不要害怕终端# 不要害怕犯错(除了 rm -rf /)# 多练习,多尝试# 遇到问题就搜索# 享受命令行的乐趣!
echo "Happy Coding! 🚀"参考资源:
社区:
祝你在终端的世界里玩得开心!✨
支持与分享
如果这篇文章对你有帮助,欢迎分享给更多人或赞助支持!
音乐
暂未播放